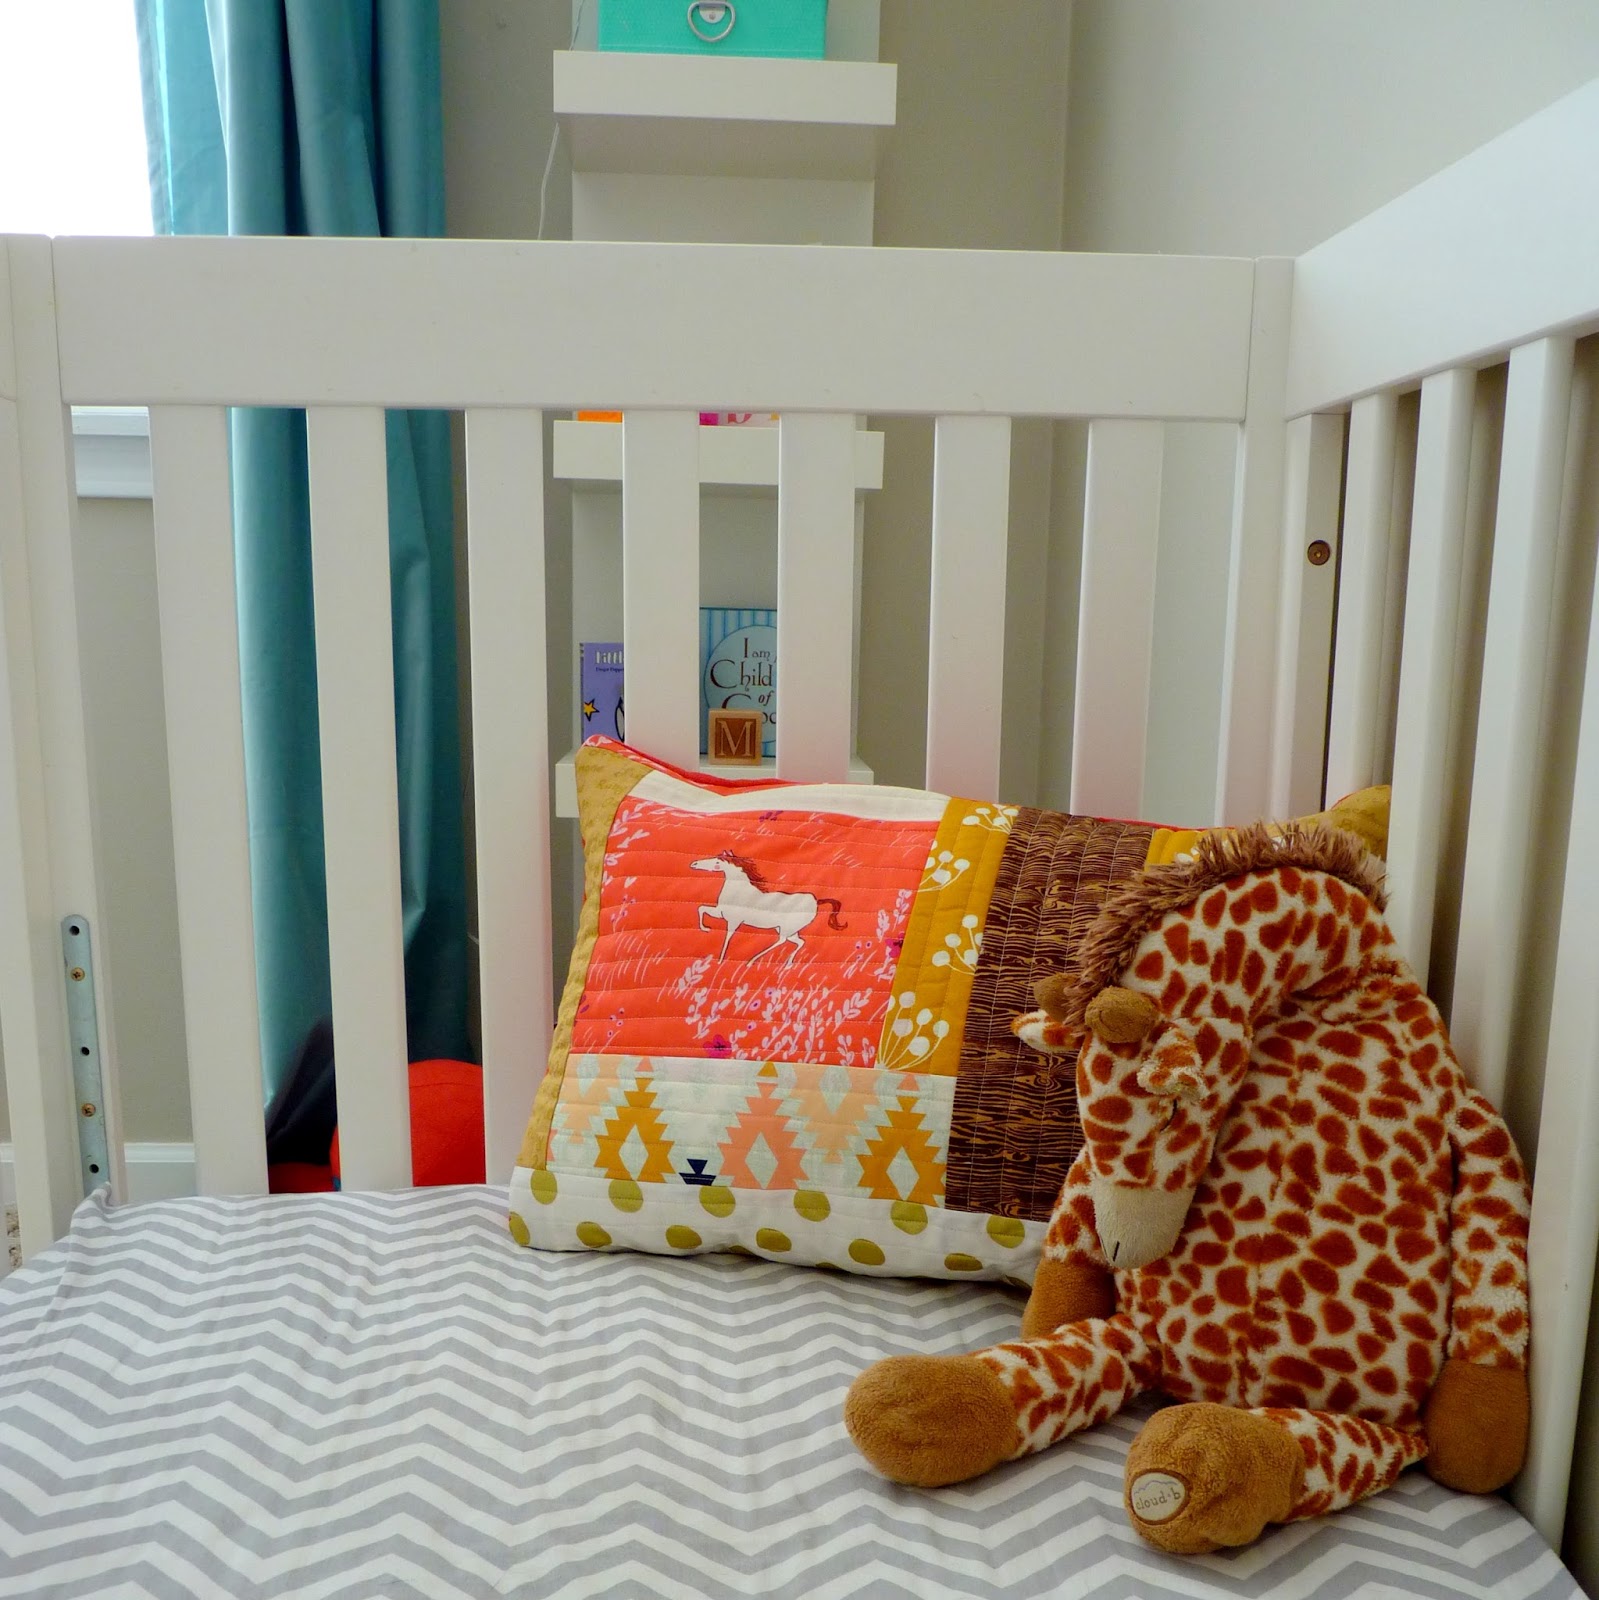
I'm venturing out of my comfort zone and trying some new things. This week I wanted to give quilting-as-you-go a shot. The technique has appeal. No piecing or measuring or planning, really. You just design the piece as you go and quilt it as you assemble it. I may be a planner in most areas of my life, but I prefer to keep my creative endeavors more loose if I can.
I used this tutorial from Let's Eat Grandpa - which by the way is the coolest blog name ever - as a go by but changed it up a bit. Her piece was more organic. I wanted my QAYG piece (yep, I just made up that acronym) to be a bit more linear to coordinate with some quilts that I've been working on...but more on that later.
I started with this horse gal artistically off center. Then began to lay pieces around it, working clockwise, adding, ironing, and quilting. It continued to build and build until I filled out rectangle. Yep, it was a bit off center. I just worked with it and trimmed it down at the end. No bigs.
The tutorial warned that the back would be kind of ugly, so the project was best for things that would be lined (like a bag) or things where you don't see the back (like a pillow case).
I respectfully disagree. I think the back is GORGEOUS. My mind is spinning with possibilities.
This is a great way to use up scrap pieces of fabric. Most of mine were 2" - 3.5" strips that were lying around from projects past.
Once the top was complete, I went ahead and had Max crawl all over it to be sure it was baby friendly. It was.
I cut 2 pieces of fabric for the back 5" wider than the top to create a slip-in-style pillow case. On the 2 back panel I ironed one side 1/2", folded, then 1/2" again to create a nice finished edge for the flaps. I topstitched along the outside edge and again on the folded edge to secure it. Did you follow that?
Then I laid the pieces right sides together - the back flaps should overlap a couple of inches - and pinned all around. I stitched the entire perimeter using a 1/2" seam allowance.
Turn that bad boy out, put a pillow inside (or make one really fast with muslin and fiber fill like I did; just use the same dimension as your finished pillow sham), and Voila!
What have you guys been sewing this week?
YOU MIGHT ALSO ENJOY:
|
|
|
|


No comments:
Post a Comment