Showing posts with label sunday stitch. Show all posts

Sunday, November 9, 2014

sunday stitch vol. 17 - DIY hand warmers

simply crafted hand warmers DIY

If you follow along on Instagram, you'll know that we've been fighting the good fight against hand-foot-mouth disease in our house. Poor little Max came down with it on Tuesday and we've basically been in survival mode ever since. Very little sleep, lots of crying, and Max was pretty uncomfortable too.

I kid.

Needless to say, sewing wasn't really at the forefront of my priorities this week. Round about Thursday, though, I was going completely stir crazy from being under pseudo-quarantine and doing nothing creative all week. Enter this crazy simple and fast DIY.

I spotted this tutorial on Pinterest last week and had to give it a try (click here for the full instructions). I had some fabric squares laying around (3.5" squares) and thought they would do the job perfectly. I actually like this size squares better than the ones in the tutorial.

It only takes a few minutes to make these once your fabric is cut. It's probably the fastest sewing project I've ever done. Sew part of the way, fill with rice, finish sewing, use pinking shears, DONE.

20 seconds in the microwave and your hands will be nice and toasty. But, um, be careful. You might have a mega-powerful microwave and it could be too hot. Use your brain.

These make fantastic stocking stuffers and inexpensive friend/teacher/coworker/surprise-you-bought-me-a-gift-but-I-didn't-get-one-for-you-because-I-didn't-know-we-were-that-close gifts.


simply crafted hand warmers DIY

I hope to be back to regular posting this week. I can't wait to show you the fall flip-flop that my fellow Interior Designer friends Sidney and Marci helped me with last weekend. The house is looking amazing and refreshed and cozy.

Oh, and in case you're worried, Max is feeling much better. Which is good, since his first birthday is in 4 days. I, however, am an emotional train wreck because my baby is growing up and I've barely slept in a week. Or 4 years, depending on how you look at it. Good news for you - fun DIYs to share in the coming weeks for his first birthday party!

For more sewing project fun, head over to:

 photo thesundaystitchblogbadge.jpg


MAY I INTEREST YOU IN…

invisible zipper pillows
neon sergered swaddle blanket
neon sergered swaddle blanket "tutorial"
pencil bag
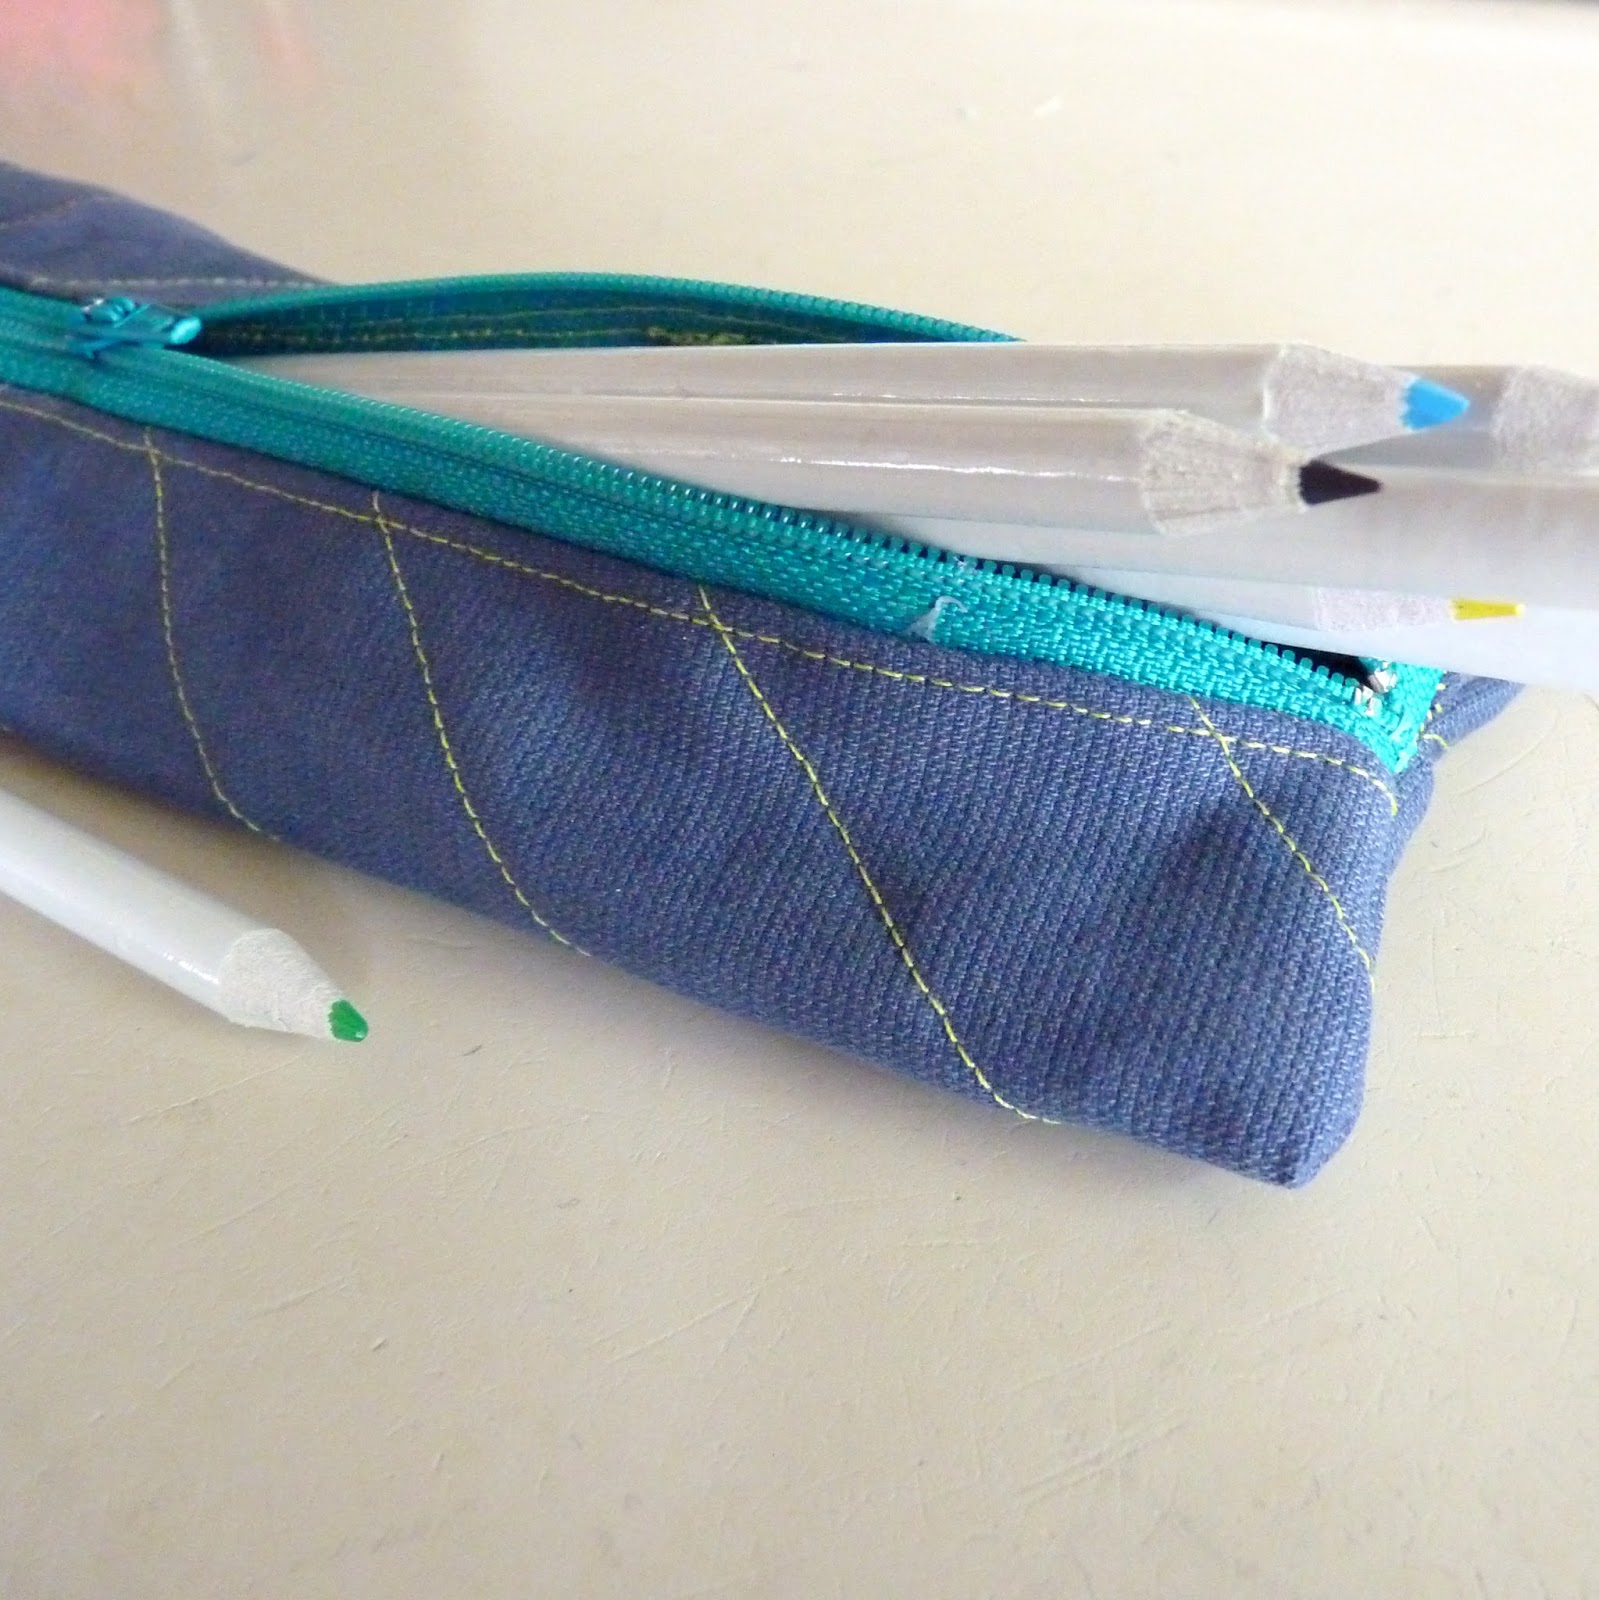
zipper pencil pouch
sittin' on top of the world

Sunday, November 2, 2014

sunday stitch vol. 16 - invisible zipper pillows

simply crafted invisible zipper pillows DIY

Even though I've been sewing since I was about eight years old, I have a bit of an irrational fear of zippers. Thankfully my friend and former neighbor Nicole taught me how to sew with zippers a couple of months back when we made this zipper pouch.

When my friend/boss asked me to make a couple of pillows for her daughter's room I decided to go for it. Perfect time to test out this new skill. And she bought enough fabric that if I totally screwed it up I would have enough backup to make more pillows and she'd be none the wiser.

I love it when the odds are stacked in my favor.

The fabric was sourced from Mood in NYC. Unfortunately, Tim Gunn was not spotted. 


simply crafted invisible zipper pillows DIY


I used this tutorial. Very easy to follow. Very professional looking results. Both pillows were done in about an hour. That even includes the time where I finished the first pillow, realized too late that both pillow inserts were NOT in fact 18", but were actually 18" and 16", and cut the larger cushion down by 2". 

"Make it work, designer."

Thank goodness I made it larger than necessary and not smaller. Two minutes with my rotary cutter, another spin around the sewing machine, and the problem was solved.

simply crafted invisible zipper pillows DIY

Henry thought they were for him. Sorry, dude. Maybe you'll get some of your own now that I'm officially over my zipper phobia.

For more fun sewing project ideas, check out what's cooking over at hi-and-hello:


 photo thesundaystitchblogbadge.jpg


YOU MIGHT ALSO ENJOY:

quilt as you go pillow sham
pencil bag
zipper pencil pouch
birch feather river quilt tutorial
DIY tent + nap mat
DIY tent + nap mat

Sunday, October 26, 2014

sunday stitch vol. 15 - sittin' on top of the world

simply crafted world map quilt


It's finished! It's finally finished!

Talk about a labor of love. This, my friends, is Max's baby quilt.

Baby quilt? But doesn't he turn 1 in a few weeks?

Yes. Thanks for pointing that out. 

My sweet baby Max turns 1 in November, and I managed to squeak this baby quilt in while he is still technically a baby. I saw this quilt pattern in the book Let's Sew Together, and fell madly in love. It was the entire reason I bought the book. Thus far I've used the patterns in the book to make this robot and this rag doll, but the world map quilt is my masterpiece.

A few helpful notes on this pattern if you are wanting to undertake this project:

Sunday, October 19, 2014

sunday stitch vol. 14: hound dog is the new sock monkey

simply crafted: hound dog halloween costume


Earlier in the week I shared with you how I whipped up a fox costume for the big kid. This costume smokes that one in the speed department, clocking in at a mere 15 minutes.

Well, to be truthful, I had a bit of a head start.

2 Halloweens ago, I made Henry a sock monkey costume. And it was amazing. Sorry for the blurry photo. It was 2012 and I only had an iPhone 4 or something.

simply crafted: sock monkey costume

I used this tutorial, in case you want to make your own. It uses actual socks, all pieced together. A labor of love.

Cute as it was, this Halloween Henry decided that he would be The Fox and Max would be The Hound. I like making their costumes by hand, so my plan was to find a brown long sleeved onesie and brown hat to transform into a dog costume. Much like my fruitless search for orange tights for Henry, I came up disappointed.

But then, light bulb moment. A hound dog looks remarkably like a sock monkey. It just has longer ears.

BINGO.

I pulled the monkey costume from the closet and began the transformation. I removed the red patch on the bottom with my seam ripper (lest people think a hunter shot the poor dog or that he had mange or something) and removed the red pom pom from the hat. I saved them, but I'm really not sure why. Just in case, I guess?

simply crafted: sock monkey halloween costume

I cut 2 dog ear shapes from brown felt, folded the monkey ears down, and top stitched to secure. Done and DONE.

simply crafted: hound dog halloween costume


These two little guys are going to be pretty darn cute on Halloween. That is, if Max keeps the hat on and Henry keeps the mask on. Otherwise they'll just be kids in brown and orange outfits and look like they have a mom that didn't try. That's really the more likely scenario. Whatever. As long as they get plenty of Snickers for me to steal.


simply crafted: hound dog halloween costume

simply crafted: hound dog halloween costume

simply crafted: hound dog halloween costume

I promise I did not ask Max to pant like a dog for the photos. He did that all on his own. He's a method actor.

Got your costumes ready? I'd love to see pictures if you whip anything up for your kids or yourselves! Post them to Simply Crafted's Facebook page.

Be sure to check out other fun sewing projects over at hi and hello.


 photo thesundaystitchblogbadge.jpg 


YOU MIGHT ALSO ENJOY:


simply crafted fantastic fox costume
sunday stitch vol. 13: all hallow's leggings
cowboy vest tutorial
super hero cape tutorial

Sunday, October 12, 2014

sunday stitch vol. 13: all hallow's leggings

simply crafted sunday stitch leggings DIY

This weekend I completed Henry's Halloween costume. He decided that he would be The Fox and Max would be The Hound.

And my heart exploded. All of my dreams of coordinating Halloween costumes just landed in my lap on a silver platter.

I laughed the entire time I was in line at JoAnn's buying my cheap-o orange knit for these fox leggings and felt for the costume. Why? Because 9,302 women were buying all of the blue sparkly fabric in the store making the same old Queen Elsa costume for their kids. Poor suckers. So much effort for your kiddo to look like the millions of other Elsa's that we're all going to see on Halloween.

Hahahahahaha.

That's mean spirited. I should stop.

Nope.

HAHAHAHAHAHA!

OK. That's out of my system. I'll share the tutorial for the fox mask and tail later this week. Today I wanted to gloat that I finally tried my hand at creating a piece of apparel using my serger - the leggings for this Fox costume. My plan had been to just buy orange leggings for like $8 somewhere, but finding them was about as difficult as finding the Lost Arc. They were nowhere to be found on the Internet for less than $25. And I was NOT going to spend $25 on orange leggings that may only get worn a few times. $4 of fabric and an hour or so with my machine would do just fine.

Sunday, September 28, 2014

sunday stitch vol. 12 - meet elanor and james


simply crafted: boy and girl rag dolls


This week I whipped up a couple of new rag dolls for my friend Katy. She game my original rag doll to her sister and it was such a hit that she wanted two more. Don't mind if I do!

The mom-to-be is expecting boy and girl twins (awwwww). This time around I modified the pattern a bit:

  • Fabric hair instead of yarn hair. I thought it would have a much cleaner look (it does) and I had a bit of heartburn about a baby ripping the yarn out of the doll and eating it. Mostly because my baby is trying to eat everything under God's green earth at the moment.
  • Before attaching the arms and legs I stitched them closed. That way I'm not so stressed about sewing all the layers together so the stuffing doesn't escape.
  • I changed up the faces. I like these felt eyes and stitched noses better than the original. I used glue to stick the felt together and to the doll and then machine stitched over it.
  • I deleted an X chromosome and added a Y chromosome for James.
simply crafted: boy and girl rag dolls

James is a wee bit pinhead-ish. If I make a boy doll again I'll probably increase the size of his noggin.

simply crafted: boy and girl rag dolls

Elanor - you're just right, down to your crooked smile. She's rocking that 3D lash mascara that everybody on Facebook will not stop talking about.

simply crafted: boy and girl rag dolls

Congrats to the mom to be, and hope you like them Katy! The new mama will also be getting a set of swaddle blankets for her little burritos.

What have you guys been sewing this week?

Hop over to hi-and-hello to check out her sewing projects this week by using the link below.


 photo thesundaystitchblogbadge.jpg 


  YOU MIGHT ALSO ENJOY:

sunday stitch vol. 6 - quirky rag doll
neon sergered swaddle blanket
neon sergered swaddle blanket "tutorial"
the perfect baby shower blanket
sunday stitch vol. 8 - quilt as you go pillow sham

Sunday, September 21, 2014

sunday stitch vol. 11 - binding scrap garland

Happy Sunday, friends. I have several (read: too many) works in progress this week, so I decided to share something I actually made start-to-finish this week. It is Oh So Simple.

I was making quilt binding for a quilt that I'll share with you later this week. I had a yard of this gorgeous linen/cotton blend fabric cut into 2.5" strips. The way I make my binding leaves me with an abundance of 2.5" triangles.

simply crafted: binding scrap garland tutorial

Rather than just throw them in the scrap pile (or garbage can) I had a light bulb moment: make them into a garland! I've wanted to make one for the boys for awhile, but most of them are pretty girly. I thought this charcoal-brown fabric + manly triangle shape (it's manly, right?) would be just the ticket.

simply crafted: binding scrap garland tutorial


 All I did was take my roll of baker's twine, starting about 12" end from the end, lay the triangle on it, and zigzag stitch on top. Easy peasy.

simply crafted: binding scrap garland tutorial

I laid each triangle apart about 6" or so, but didn't bother measuring. I also let some triangles face right while others faced left. I just made sure I didn't have more than 3 or so facing the same direction to keep it interesting.

simply crafted: binding scrap garland tutorial

In about 20 minutes, I had a wicked pile of garland.

simply crafted: binding scrap garland tutorial

It was long enough to string from one wall of Henry's room to the other. Probably 15' or so total.

simply crafted: binding scrap garland tutorial


simply crafted: binding scrap garland tutorial

simply crafted: binding scrap garland tutorial

simply crafted: binding scrap garland tutorial


I initially was just hanging it here so I could have a photo to show you guys, but I kind of fell in love with it. Even The Hubs likes it, and he tends to rebel against most things that are remotely girly:

http://society6.com/silvioledbetter/clear-alcohol-is-for-rich-women-on-diets--ron-swanson_print#1=45
Image Via Society6


simply crafted: binding scrap garland tutorial

See? Even the stuffed lumber jack likes it. So manly.

For more sewing project inspiration, visit my friend Maryam over at hi-and-hello. To see all of my Sunday Stitch projects, click here.

 photo thesundaystitchblogbadge.jpg


What have you guys been sewing this week? Any manly garlands? Brown alcoholic beverages? Bacon?


YOU MIGHT ALSO ENJOY:

cowboy vest tutorial
simple boy shorts tutorial
sunday stitch vol. 3 - attack of the octopus
jack & coke float
jack & coke float