Showing posts with label DIY & crafts. Show all posts

Tuesday, July 7, 2015

monogrammed newlywed pillow

Couples spend quite a bit of time on their wedding registries. I did when I got married. It makes perfect sense. "We'll make a list of all the things we like, and then people will go buy them, and we won't get any weird gifts!"

Enter Tara.

I am notorious for shopping off-registry. Don't get me wrong, I look at the registry, but then I tend to make something that (I hope) will compliment it. Anyone who dislikes this practice might want to mention it to me in the future before their big day.

B-T-dubs, Interior Designers are notorious for shopping off registry. We think we know better than you what you need. Right, wrong, or indifferent, it's just who we are.

Such is the case for Kyle and Summer. Kyle is my boss' son and Summer happens to like handmade things. Or so her Pinterest boards would have me believe. So for their nuptuals, I decided to make them a little something something.

Their registry had lots of classic items. Blues, navys, and whites. And the one thing that all couples' registries have in common - MONOGRAMS.

It makes sense. If the gal is going traditional and taking the guy's last name, she naturally wants it emblazoned on everything they own. This happy couple will now be sporting an equally cheerful monogrammed pillow.

simply crafted quilted monogram newlywed wedding gift pillow

I actually started with this side, which is basically a simple square mini-quilt. These are 3.5" squares, 5 high by 5 wide. It's a simple checkerboard pattern with whites and navys. It came out to roughly 15.5" square when it was done.

I bought a 16" pillow form. The rules are that I probably should have made the pillow top finish at 17" (because you lose 1" when you sew the front and back of the pillow case together with a 1/2" seam allowance), but I tend to like my pillows either - A) a little overstuffed or B) insanely squishy with a feather pillow form that feels like it's vintage. I went with Option A on this one.

At any rate, I made the top and quilted it with navy thread, 1/4" off of each seam to make a grid. Nearly all of these fabrics are from JoAnn's.

Then, the back. Drumroll please....

simply crafted quilted monogram newlywed wedding gift pillow

This turned out even cuter than it was in my brain. My plan had been to do a blue monogram on a plain white background. But then I realized I had enough of this preppy polka dot fabric left over from the front to make the back. It's so darn cheerful!

I love it when things work out.

Thursday, May 14, 2015

quilt club is back, y'all

Quilt club has been on hiatus since last fall when our patron store closed its doors (insert sad face). But, happy day, we are up and running again at a new location. Which means more pretty pictures of quilts up in here (up in here).

The group got together in April to catch up on life and show off what we've been working on since we last met. The group's consensus was that without the monthly group meeting, we weren't quilting as much as we would like. Hello, accountability.
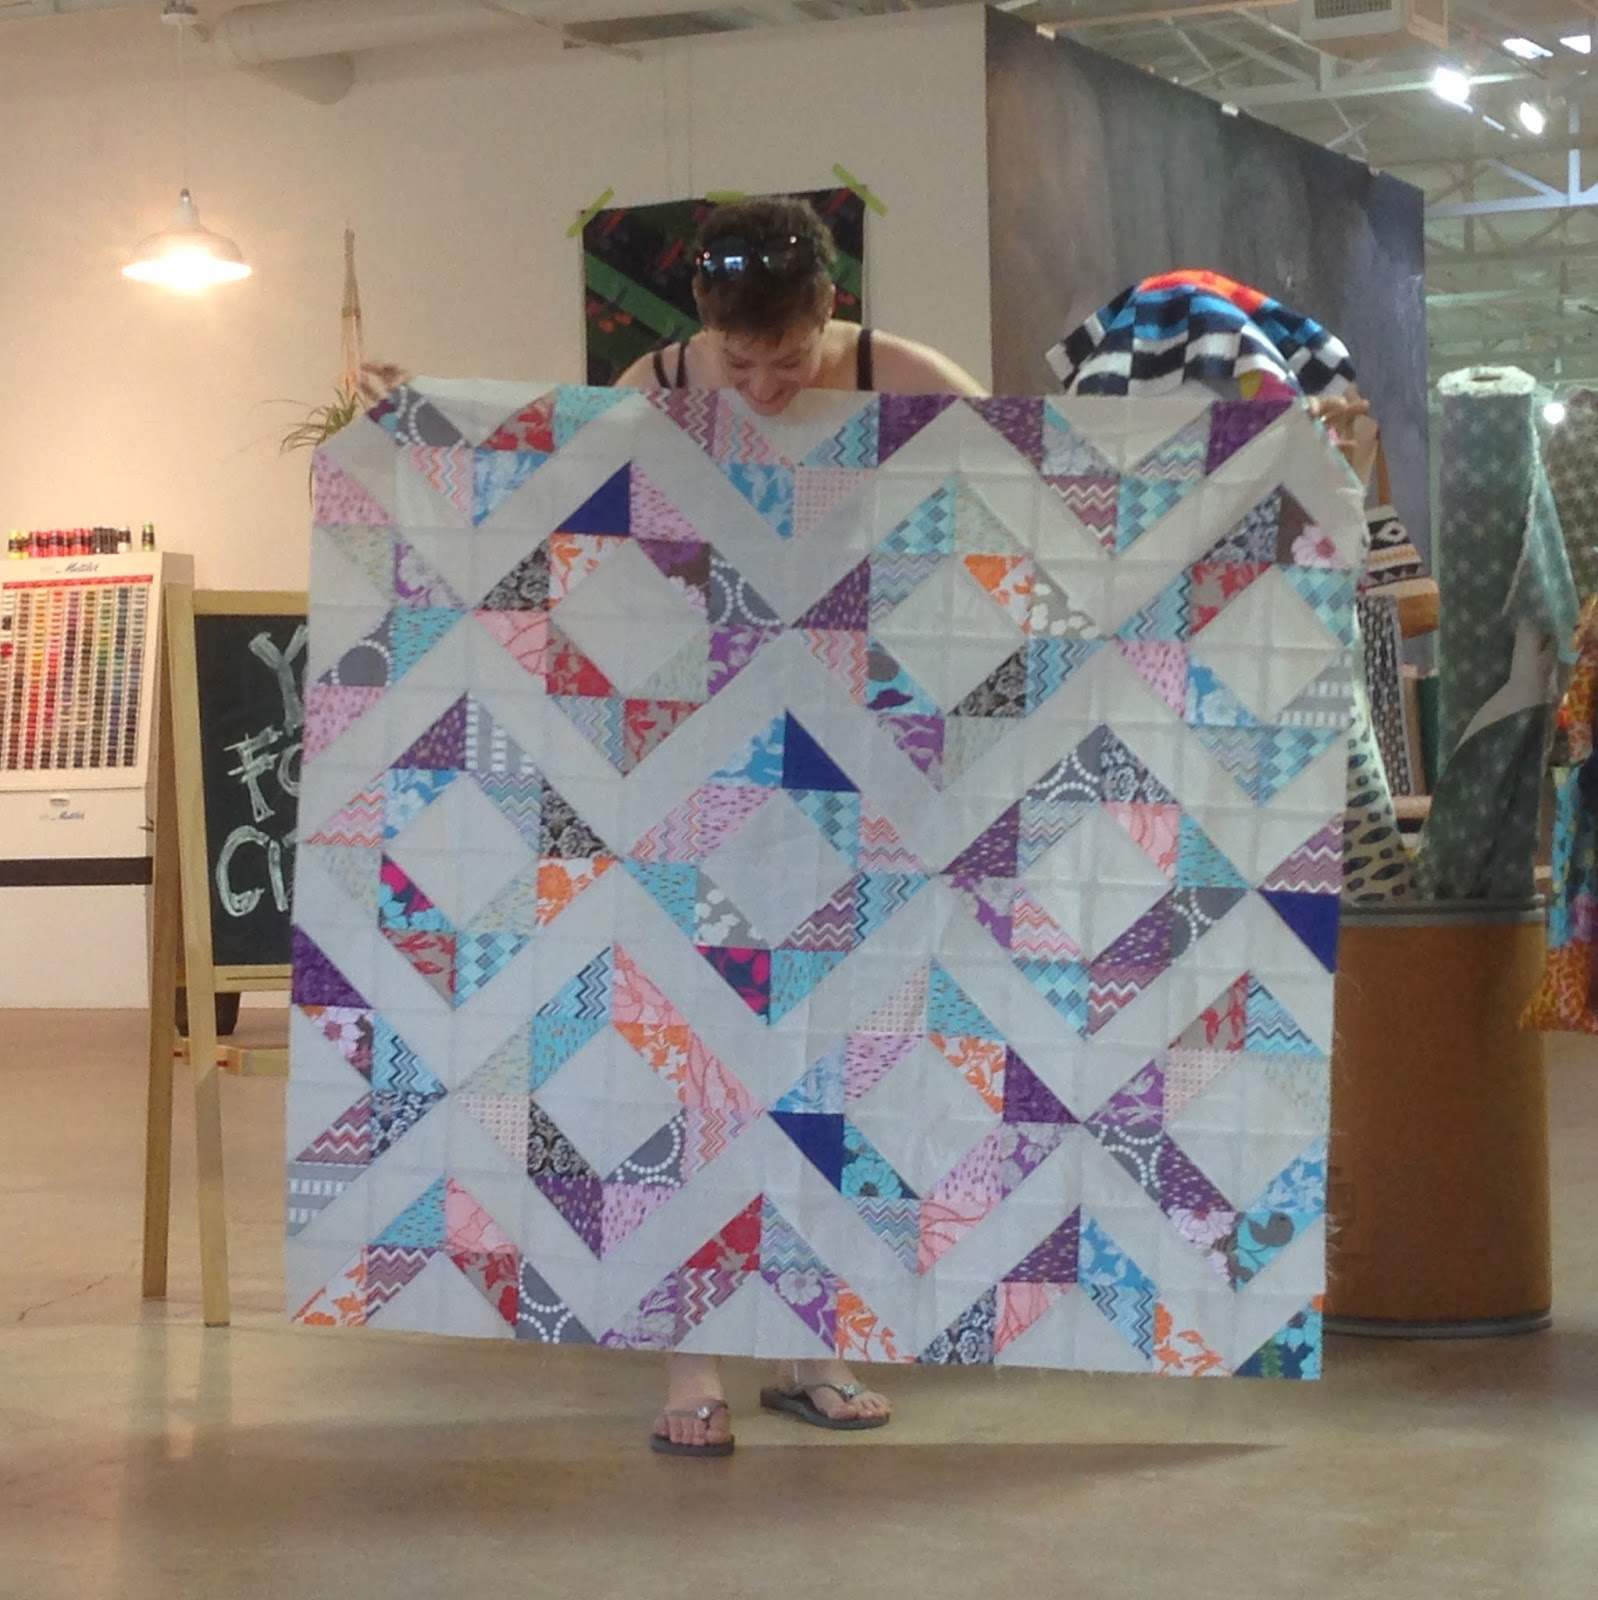
Even still, there were lots of great quilts to see. My apologies, I left my nice camera at home, so these were just snapped with my iPhone. I'll do better next time.

modern quilt club | simply crafted

Tuesday, May 12, 2015

quilt as you go pillow top

I love my boys. They are delightful. Spirited. Squishy.

They also systematically destroy all of the things that I love.

Case in point, this poor, pitiful Crate and Barrel pillow on my sofa. So. Sad.

simply crafted quilt as you go pillow

So, yeah, this is why I'm posting about pillows all of the time now. Yeesh. We've been long overdue for new pillows around here. Enter this beauty.

simply crafted quilt as you go pillow

This little ditty is a project from the book Quilt-As-You-Go Made Modern. I've used this technique once before when I made this toddler pillow sham awhile back, but that was before my sweet brother bought me the book with real, actual instructions in it. Always a plus.

Thursday, May 7, 2015

Anthropologie style piped pillow

You guys.

I would love to be humble right here, I really would, but would you look at this pillow?

anthropologie style piped pillow how-to


It. Is. Gorgeous.

It was my first pillow project to use a iron-on stabilizer. And my first project to make and use piping. And it has an invisible zipper. The trifecta.

anthropologie style piped pillow how-to


See that zipper? No, you don't, because it's invisible.


Thursday, April 30, 2015

shirred spring dress

I have been wanting to make a sweet little shirred (aka smocked) dress for more than a year now for Henry's girlfriend, Adalyn. Shirring is a technique that uses elastic thread and turns any fabric into a cute, ruffly, stretchy fabric that is just perfect for dresses and skirts.

simply crafted shirred spring dress using a brother sewing machine

Here's the problem. I tried umpteen tutorials and could never get the hang of it. My fabric just would not bunch. I eventually gave up in a super graceful way that definitely didn't involve pounding my fists on the sewing table or uttering curse words.

Fast forward a year and it's Adalyn's 4th birthday. I am bound and freaking determined to shirr her a dress, so I look for more tutorials. I eventually see a little note at the bottom of one that says in big red letters something like "if you have a Brother sewing machine, you're going to have a really hard time with shirring."

Oh, fantastic. Well that explains it.

Turns out that Brother machines don't shirr well due to the fact that they have a drop-in bobbin with no bobbin tension adjustment. There is a work around though. It sounds totally scary, but I promise it's not. You just tighten one little screw with a tiny Flathead screwdriver and VOILA! You can shirr! Here's a link to the video that will show you how to shirr on your Brother machine. Don't be afraid. It's worth it.

If you don't have a Brother, congratulations, because life just got a whole lot easier for you.

Now that my machine was shirr-ready, I followed this tutorial from Pretty Prudent to whip up this adorable springy dress for Adalyn out of some vintage fabric. Pink and purple paisley. Doesn't get much cuter than that.

Check out that shirring. And those pom poms. Come on.

simply crafted shirred spring dress using a brother sewing machine


I even had Henry model it to be sure it would fit Adalyn, since they're the same size. Yes, I have photos. No, I will not be sharing them. You're welcome, future 15 year old Henry.

Here's Adalyn modeling her dress. My future daughter-in-law, ladies and gentlemen. Those who can't seem to produce girl babies can sew for the girl babies of others.

simply crafted shirred spring dress using a brother sewing machine

This would be a great technique to use on grown up skirts too. Could you imagine a shirred comfy waistline on a cotton skirt when you're pregnant? I'm not (thank goodness), but this would definitely have been nice to have when my belly was the size of a beer keg.

MAY I INTEREST YOU IN…

muu muu summer dress tutorial
easy elastic waist skirt tutorial
super hero cape tutorial
neon sergered swaddle blanket
neon sergered swaddle blanket "tutorial"

Thursday, April 23, 2015

done in a weekend(ish): boys' bathroom refresh

The boys' bathroom is the final frontier of our house as far as redecoration goes. Not that there aren't a million and one things we (I) still want to change, but it is the only room that's gone completely untouched since we moved in. I mean completely. Same gross green walls. Same nail holes from the old homeowners. Same 80's towel bars. You get the picture.

I shared my design plan with you guys about a year ago. A year. By anyone's standard that's a freakishly long time between planning and execution. But here's the thing...it didn't feel right. There was nothing wrong with my plan per se, but I just wasn't feeling it. So I stalled. And I don't think that's a terrible thing. Better to sit on it and come up with a better plan (or, rather, wait a year for a new plan to magically materialize in your mind while you're supposed to be working on something else) rather than force it and spend money on something you ultimately won't like.

Or at least that's what I'm choosing to tell myself.

Last week I woke up after a late night Pinteresting session (I should not be allowed to Pinterest after 9 PM) and decided it was THE DAY to do something about that bathroom. So I grabbed a can of paint from the garage and got busy. It was kind of fortunate that I had the exact color that I wanted leftover from another project and ready to go. It was meant to be.

I call this a weekend-ish refresh because it totally could be accomplished in a weekend, I just chose to stretch it out over about 5 days. Painted day 1, nothing day 2. hung stuff day 3, plumbing nightmare days 4-5. But more on that in a moment.

Here's the room before. Ugh, it's so ugly it hurts my eyes. So embarrassing. Do you like how I didn't even bother to take the potty seat off the throne before the photo? Keeping it real.

simply crafted boys bathroom redo before

The only things this space really had going for it were the white tile which is in good shape, and a skylight that brings in mucho natural daylight. This is most certainly not the tile I would pick out today if I were doing a total remodel, but since we aren't going to drop the money right now for an overhaul, it's totally non-offensive, and that's good enough for me.

Friday, February 20, 2015

Hazel Hedgehog quilt-a-long

simply crafted hazel hedgehog quilt along


Happy Friday! Greetings to all of the new folks following the HazelQAL blog hop, and a warm welcome to all the regulars as well.

It's no secret that I'm a big fan of woodland creatures (I made a hedgehog out of cheese last fall, after all), so when the opportunity popped up to join Gnome Angel for the Hazel Hedgehog Quilt-A-Long blog hop, I was all over it. I had no idea what a quilt-a-long actually was, nor had I ever participated in a blog hop before, but I wasn't going to let a little thing like complete-and-utter-lack-of-knowledge stop me.

If you're interested in making one for yourself, the pattern is by Elizabeth Hartman. Angie over at Gnome Angel has a discount code available. I love a good discount. I used the Hazel II pattern to whip up this child sized quilt.


Monday, January 12, 2015

Colonial American Flag Quilt (with free pattern)


simply crafted colonial american flag quilt with free pattern


Christmas has come and gone, which means I can (finally) share with you guys some of the quilty projects I completed last year but had to keep under wraps.

This one is probably my favorite. After the one bojillion hours I spent on it, it better be.

I have a very unique relationship with my mother in law, in that we actually like each other. Quite a bit, actually. She's amazing. She came and stayed with us for weeks after both boys were born. And not the kind of "help" like "I'll hold the baby while you clean the house and cook me dinner" kind of help, but the "let me clean the house and cook you dinner while you hold the baby" or "let me hold the baby while you take a long shower and nap" kind of help.

You know, the helpful kind.

The inspiration from this quilt came to me at the 4th of July (imagine that) while we were at my in law's house. Tammy loves red white and blue everything and has a soft spot for colonial American era stuff. Thus, this quilt was born.

It was a labor of love to say the least. It's a simple enough pattern, but it has lots and lots and LOTS of half square triangles. I worked on it from July to November. There's just only so many HSTs I can make before I had to put it away for awhile for my own sanity.

Also, what can't you do with half square triangles? So versatile.

If you're interested in making one for yourself or a gift, here is a link to my FREE pattern guide here. It's fairly basic. Make your HSTs in whatever method you choose, assemble the rows, connect the rows, and applique the stars using a zigzag stitch. I used fusible web to adhere the stars first, which I highly recommend. Then I straight line quilted the whole thing.

The amount of fabric you'll use will vary a bit because it really depends on how scrappy you want the finished product to be. A good guide would be:

  • white fabric - 1/2 yd from 4 fabrics
  • red fabric - 1/2 yd from 4 fabrics
  • blue fabric - fat quarters from 4-6 fabrics
  • 1/2 yd binding
  • 1-1/2 yd backing


simply crafted colonial american flag quilt with free pattern


I used gold thread to applique the stars. I like to think that if Betsy Ross had access to gold thread in her day, she would have too. She's cool like that.

simply crafted colonial american flag quilt with free pattern

Here's Old Glory in all of its, well, glory. The little blue birds on the white fabric are probably my favorite part. They only made it in there because I totally miscounted and cut too few white ones. Whoops.

And yes, there are 13 stars and 13 stripes. It's at least that accurate.

simply crafted colonial american flag quilt with free pattern

I chose more traditional fabrics than what I typically go for since that's what Tammy gravitates towards. I was able to incorporate some vintage scraps, which I always love to do.

See that yummy crinkly effect? You get that by NOT prewashing your fabrics, but instead washing the quilt after it is complete. Always on cold water. I threw in a few Shout Color Catchers to help prevent the red fabric bleeding. Thankfully I didn't have any issue.

simply crafted colonial american flag quilt with free pattern

Hope you like it, Tammy! If not, I'm taking it back because it took freaking forever. Love you!


MAY I INTEREST YOU IN…

quilt club: half square triangles
monogrammed quickie quilted blanke
monogrammed quickie quilted blanket
Paper Pieced Fox Pillow
paper pieced fox pillow
sittin' on top of the world
sittin' on top of the world quilt

Monday, December 15, 2014

Christmas doll house pillow

simply crafted peek a boo house christmas pillow

Let's just talk about this pillow. I know I say this all the time, but this might be the cutest thing I've ever made.

It was inspired by inkandbobbin over on Instagram. She makes these adorable little dollhouse-style pillows that she calls Whimsy houses. Most of them are on the uber-girly side of the spectrum, which always bums me out because I want all of these cute things but mostly my boys just want to play with trucks and dinosaurs. I've been toying around in my noodle how to make these more boyish so we could have one around the house without the Hubs throwing up.

But then this amazing thing happened. She started making a limited amount of Christmas ones.

Yes! Christmas is always the answer! It's not girly....it's festive.

And since I can never bring myself to spend money on something I can create myself, I dove in. No pattern or anything. I just winged it.

simply crafted peek a boo house christmas pillow

Most of this fabric came from my stash with the exception  of the framed Christmas characters. They are from my favorite Spoonflower fabric designer and you can order it here. She's not paying me to say that. She doesn't know I exist....yet.

That sounded creepier than it should have.


simply crafted peek a boo house christmas pillow

I fussy-cut the little portraits out and zigzag stitched them to the pillow behind the doors and windows. Then I couldn't stop, so I added them to the roof. And inside of the door. And over the trees.

If I were to make one of these again, I think I'd use fusible web to attach the appliques before I stitched them to give them some more hold. As I stuffed the pillow, some of the stitching pulled apart from the applique pieces, so it looks a bit amateur hour. And I left some raw edges exposed on the door and windows. I was in that "oh my goodness I just need to get this done so I can cross it off my list" mode. 

You now that mode. Don't pretend like you don't.

That pink Christmas tree makes me smile. You know that part of the Charlie Brown Christmas movie where they go to the tree lot and they are all pink and made of aluminum? Charlie Brown is completely disgusted, but I am swooning because PINK TREES!

simply crafted peek a boo house christmas pillow

I could have easily gotten away with a fat quarter of the fabric, but went ahead and got a full yard. You just never know when you're going to need Christmas Portrait fabric, amiright?

simply crafted peek a boo house christmas pillow

Henry liked it more than I thought he would as evidenced by his super cheesy smile. Max LOOOOVES it because his favorite game is peek-a-boo and now he can play it with the pillow. Which means he isn't playing it exclusively with me. Which means I now have time to do things like type out blog posts about pillows. 

Win-win-win.

simply crafted peek a boo house christmas pillow

Clearly the roof had to coordinate with the quilt I made last week. I mean, nothing in the world would make any sense if it didn't.

Oh, and our octopus is now a reindeer. Obviously.

I still have one more Christmas sewing project for the house that I'm hoping to finish this week. If I wait until next week I'll only get to enjoy it for a few days, so I need to get ON IT.

Anyone else crafting up some holiday goodness? Please link up in the comments below. I'd love to see what everyone is working on.

Lastly, if you want a cute pillow house of your very own, mosey on over to inkandbobbin and buy one of hers. They are amazing.


MAY I INTEREST YOU IN…

O Christmas quilt, O Christmas quilt
hallelujah! holy sh*t, where's the tylenol
hallelujah! holy sh*t, where's the tylenol - our holiday home tour
attack of the octopus
sittin' on top of the world

Thursday, December 11, 2014

O Christmas quilt, O Christmas quilt

simply crafted half square triangle flannel backed christmas quilt

If this picture doesn't make you want to curl up with a quilt, then I'm pretty sure nothing will.

I've had this flannel in my stash for quite some time. I impulse buy plaid things. We all have our vices.

Aaaaaanyway, I finished all of my Christmas gift sewing last week and decided to make a little sumthin' sumthin' for the Lenneys. Something wintery, but not so Christmas specific that it would have to be packed up when the Wise Men hit the road in January.

simply crafted half square triangle flannel backed christmas quilt

The construction is simple. 7.5" squares in 4 colors, 12 in each color (I think). White always went with red and grey always went with yellow. It only took me a couple of sessions to make the top, and I was able to quilt the whole thing during a single naptime. It was a Christmas miracle.

simply crafted half square triangle flannel backed christmas quilt

The back is super-soft and perfect for snuggling up with a White Russian at the end of a long day. The drink, not the man. My husband isn't Russian.

He did, on an unrelated note, admit to me that he thought the quilt looked like a circus tent. In his defense I had just said "I keep going back and forth between really liking this quilt and thinking it looks like a circus tent." 

I sort of set myself up for that one.

I think it's grown on him, though, because I keep catching him bundled up with it on the couch.

simply crafted half square triangle flannel backed christmas quilt


And yes, in case you caught my last post, the tree is back up and vertical, although with FAR fewer ornaments this time around. There's like 19 ornaments on this 9' tree. Most of them plastic. I haven't been able to bring myself to go through the box of what's left and assess the damage. For now, this is just fine with me.

Hope everyone is enjoying the holiday season!


MAY I INTEREST YOU IN…

hallelujah! holy sh*t, where's the tylenol
let's get campy! birch feather river quilt tutorial
monogrammed quickie quilted blanket tutorial
quilt club: half square triangles

Monday, December 1, 2014

woodland creatures birthday party: the maxwell man turns 1


I'm not sure how it happened, but somehow my baby turned 1. Some sort of time warp, I guess.

Much as I tried to keep things simple and low-key, I friggin LOVE to throw parties. So as the day of the party approached, I kept adding little handmade projects here and there. It's a disease.

Here are all of the sweet little details that made up Max's Woodland Creatures 1st birthday party.

Monday, November 17, 2014

DIY tassel garland

simply crafted DIY tassel garland tutorial


Does the Internet really need another tassel garland tutorial?

Yes. Yes it does.

Why? Because of the gross misuse of the terms "lengthwise" and "widthwise" on the Internet. I'm here to help you, friends.

Max's first birthday party was this past weekend. I can't wait to share all of the fun details with you, but that's going to take a minute (read: a week) to pull together. In the meantime, I wanted to give you a sneak peak with this little tutorial.

simply crafted DIY tassel garland tutorial


I've seen these cute tassel garlands all over Pinterest and Instagram for the last few months. I thought they must have to be somewhat difficult to make since everyone was buying them instead of making them.

Nope, not hard at all. You just need a little bit of time and hopefully a glass of wine. These are perfect for party decorations, holiday decorations, and kid's room decor. Here's the step by step guide.


Sunday, November 2, 2014

sunday stitch vol. 16 - invisible zipper pillows

simply crafted invisible zipper pillows DIY

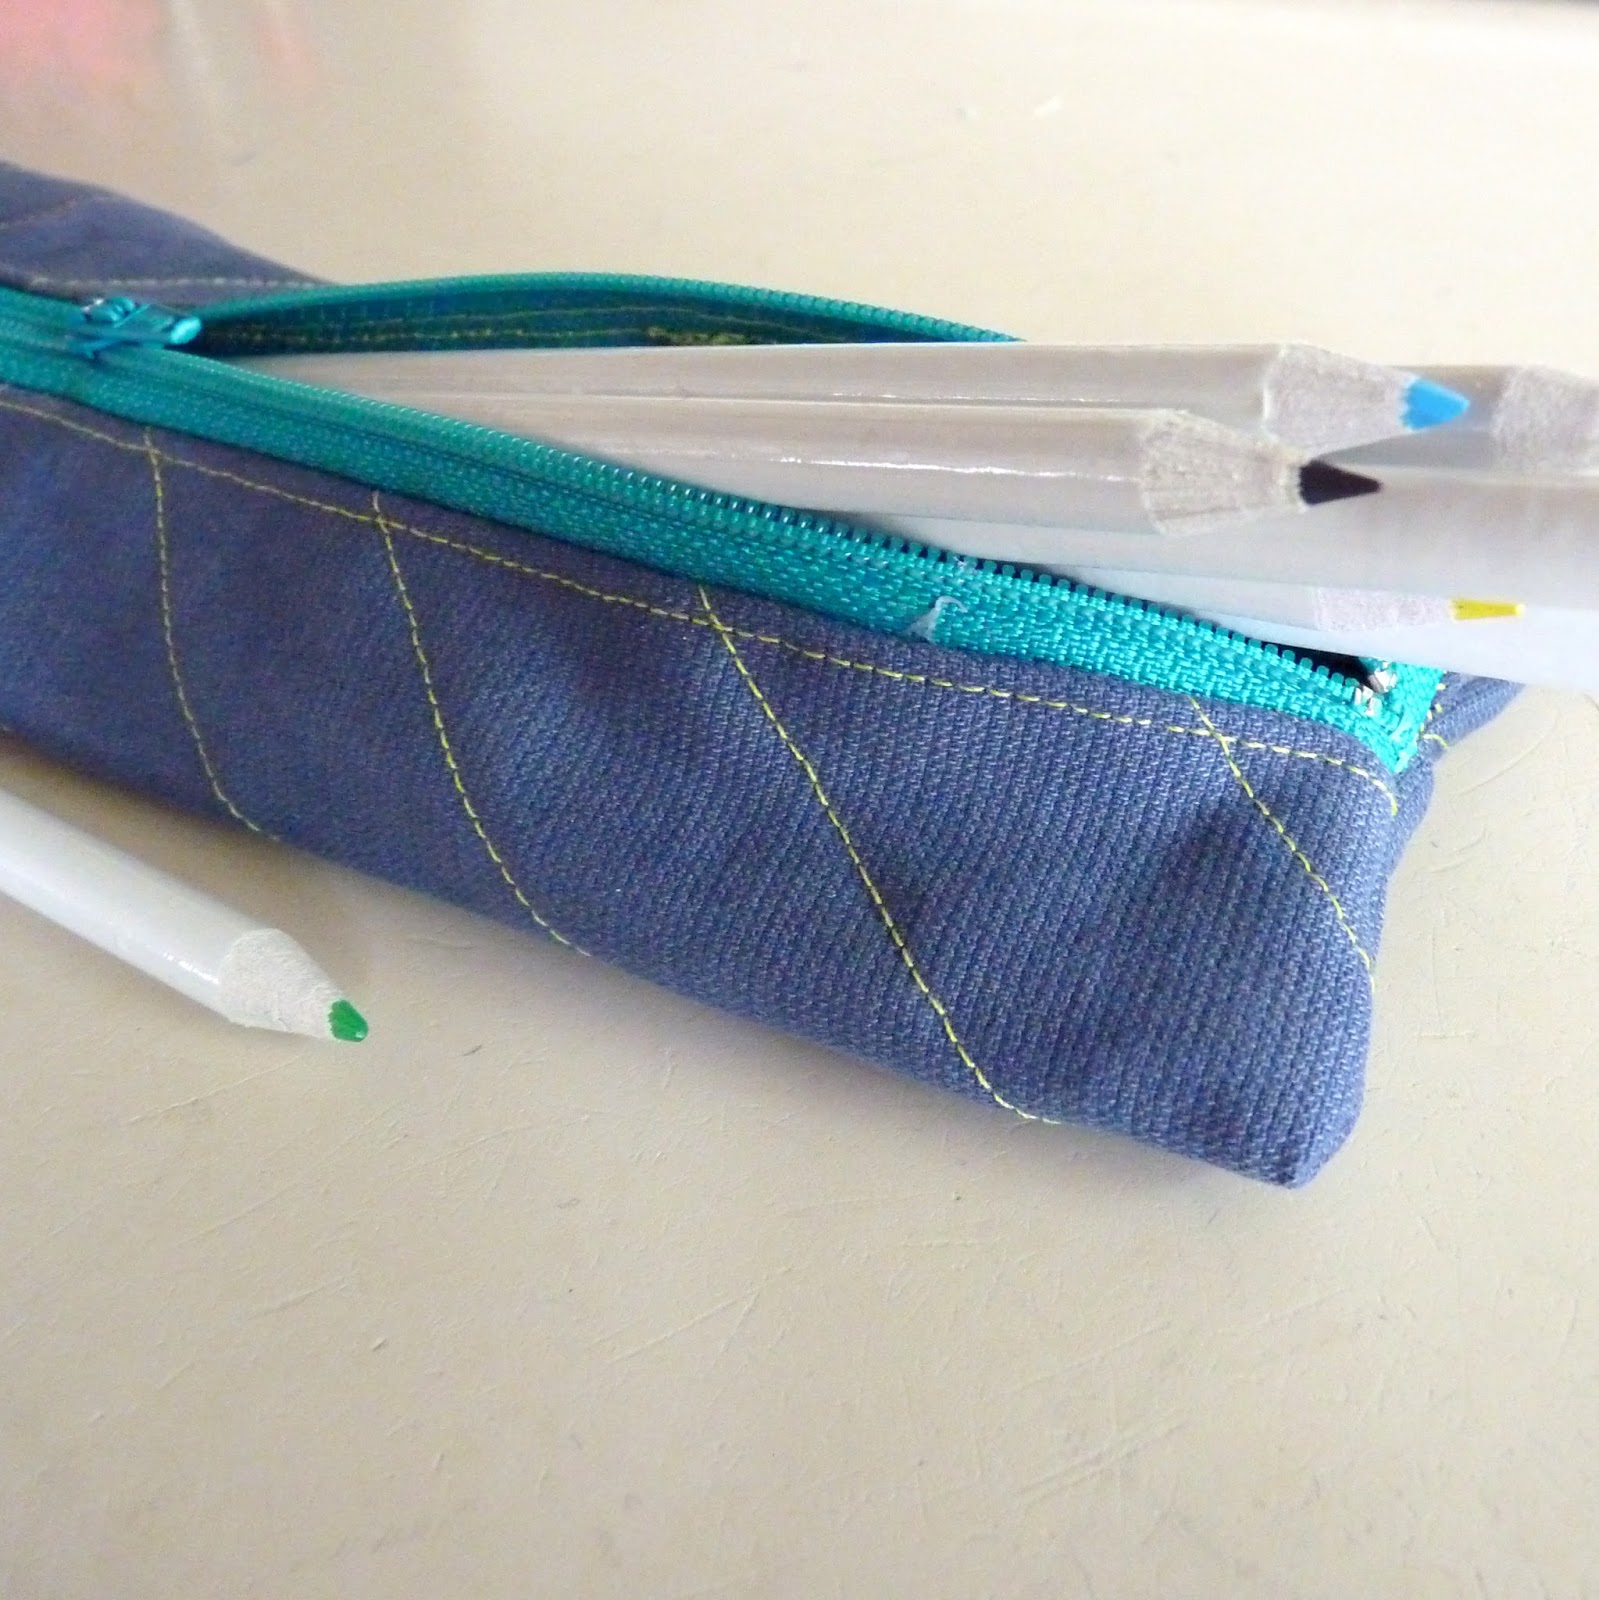
Even though I've been sewing since I was about eight years old, I have a bit of an irrational fear of zippers. Thankfully my friend and former neighbor Nicole taught me how to sew with zippers a couple of months back when we made this zipper pouch.

When my friend/boss asked me to make a couple of pillows for her daughter's room I decided to go for it. Perfect time to test out this new skill. And she bought enough fabric that if I totally screwed it up I would have enough backup to make more pillows and she'd be none the wiser.

I love it when the odds are stacked in my favor.

The fabric was sourced from Mood in NYC. Unfortunately, Tim Gunn was not spotted. 


simply crafted invisible zipper pillows DIY


I used this tutorial. Very easy to follow. Very professional looking results. Both pillows were done in about an hour. That even includes the time where I finished the first pillow, realized too late that both pillow inserts were NOT in fact 18", but were actually 18" and 16", and cut the larger cushion down by 2". 

"Make it work, designer."

Thank goodness I made it larger than necessary and not smaller. Two minutes with my rotary cutter, another spin around the sewing machine, and the problem was solved.

simply crafted invisible zipper pillows DIY

Henry thought they were for him. Sorry, dude. Maybe you'll get some of your own now that I'm officially over my zipper phobia.

For more fun sewing project ideas, check out what's cooking over at hi-and-hello:


 photo thesundaystitchblogbadge.jpg


YOU MIGHT ALSO ENJOY:

quilt as you go pillow sham
pencil bag
zipper pencil pouch
birch feather river quilt tutorial
DIY tent + nap mat
DIY tent + nap mat