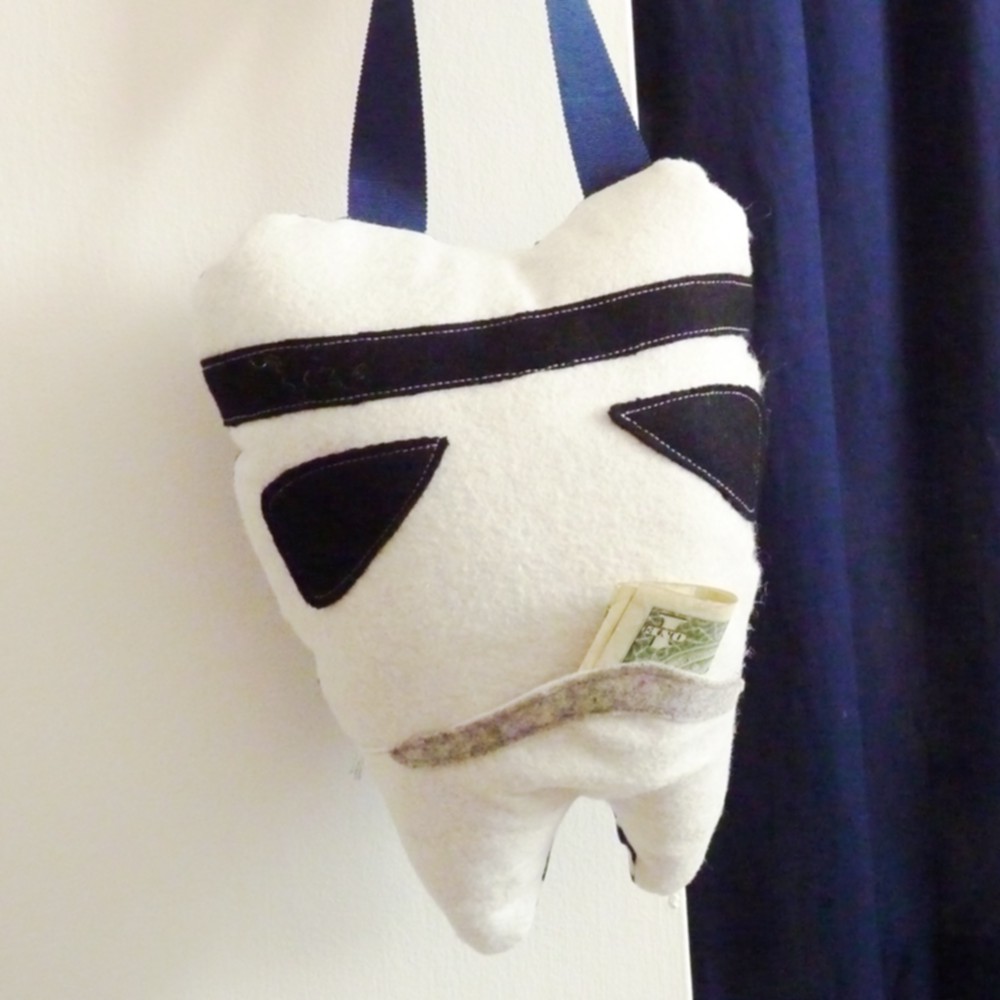
My friend Jenny from high school reached out to me last week with an interesting request. Her oldest son, Dylan, was about to lose his first tooth. He is a very light sleeper, so the traditional tooth fairy method of sneaking into his room and slipping money from under his precious little head just wasn't going to work for them. Her request was for a tooth fairy pillow to hang on the door knob. Brilliant.
She said that he likes red, blue, yellow, and Star Wars, and left the rest up to me. Then creativity immediately struck.
Storm Toother!
(see what I did there?)
I just happened to have a random half yard of Star Wars fabric in my stash from a project that never came to fruition. This was the perfect time to use that.
If you want to make a tooth fairy pillow for the little snaggle-toothed kid in your life, I've got you covered. You could leave out the Storm Trooper accents and just make a regular tooth, or jazz it up and do your own thing.
THE GOODS
- 2- 8.5"x11" sheets white felt
- Scraps of black and grey felt
- Back fabric - approximately 8.5"x11" (mine is from JoAnn's)
- Coordinating thread - I used white and grey
- 18" length of grosgrain ribbon
- Polyester fiber filling
- OPTIONAL - embroidery thread
- Free printable pattern
CUT YOUR PIECES: Download the free printable pattern and cut out your pieces. If you're using a back fabric that's anything other than felt, be sure to trace the pattern piece on the wrong side of your fabric.
MAKE THE FACE: Topstitch the "headband" and eyes onto the large tooth piece. On the smaller "mouth" white piece, stitch the grey felt piece. Pin the mouth piece on top of the larger tooth. This will create the pocket for the tooth and moolah. I used grey thread for all of these pieces.
Now attach the pocket. Starting at each edge, stitch in about 1" from the edge of the tooth to just inside the grey piece.
ASSEMBLE: You perceptive folks might notice that I added a monogram onto the back fabric. This is totally optional. I used another piece of the grey scrap felt for this. I considered adding the monogram to the front, but if this kid is a true die-hard Star Wars fanatic, he might get ticked because "real Storm Troopers don't have their names on their helmets." Thought I would avoid that entire argument.
You're welcome, Jenny.
See what I did with the ribbon, there? You want the loop sandwiched between the tooth front and back. Create your loop with the ends hanging out from the top of the tooth, then put your back fabric right side down over the top, and pin.
Leave yourself a 3" opening on the white felt between the headband and the pocket. It will make your life exponentially easier not having to stitch through 2 layers of felt or switch between black and white thread to close the hole. My opening is right where I made that handy little X for you in the photo below.
Stitch all the way around the perimeter using a 1/4" seam allowance. Stitch back and forth over the ribbons a few times to secure them well because kids are rough on everything and we don't want them ripping your beautiful pillow apart in their tooth money frenzy.
"Hmm! Adventure. Hmmpf! Excitement. A Jedi craves not these things.”
Anyone? No? Whatever.
Turn it out.
STUFF: Fill with fiberfill, hand stitch the opening closed, and you're DONE!
I know, right? So cute.
Hope you enjoy, Dylan and Jenny! Hope the tooth fairy leaves you something awesome.
COULD I INTEREST YOU IN...
|
|
|
|


No comments:
Post a Comment