Thursday, May 29, 2014

how to remove lipstick from your carpet with homemade carpet cleaner

how to remove lipstick from your carpet


If you're following along on Instagram, you know that we had a bit of a snafu a couple of weeks ago. My sweet, loving, spirited (which is to say, maddening) 3 year old broke out of his room during "nap time," grabbed 2 freebie tubes of Clinique lipstick from my makeup drawer, and went to town ALL OVER MY CARPET.


caught red handed
who, me?

And if you're joining us from Pinterest, I'm so so sorry that your carpet looks like a horror film. But friend, there is hope!


Thursday, May 22, 2014

i joined a quilt club (and you can too!)

My favorite fabric store City Craft kicked off their Modern Quilting Club last night. You're probably picturing me sitting in a drab room full of little old ladies hand stitching fabric with kittens on it, right? Well, you couldn't be more wrong. Quilting has resurged in a huge way (like cooking, sewing, knitting, and all of those other useful crafts). Modern Quilting is its own little (huge) movement. Our little club has young women, older women, tattooed women, a kid, and a couple of men. So there!

modern quilting club: simply crafted


This month's meeting was a show and tell. I was really excited (and relieved) to see that I wasn't the only one with limited experience. I've made a few quilts, but my technique is, how you say, nonexistent. I'm looking forward to learning from these super talented folks.

I left feeling so inspired and ready to start quilting right away. And then I thought, you guys might want to take part in this too! So here's my thought. For those of you not fortunate enough to live in Dallas, let's take this Modern Quilting Club online! 


Wednesday, May 21, 2014

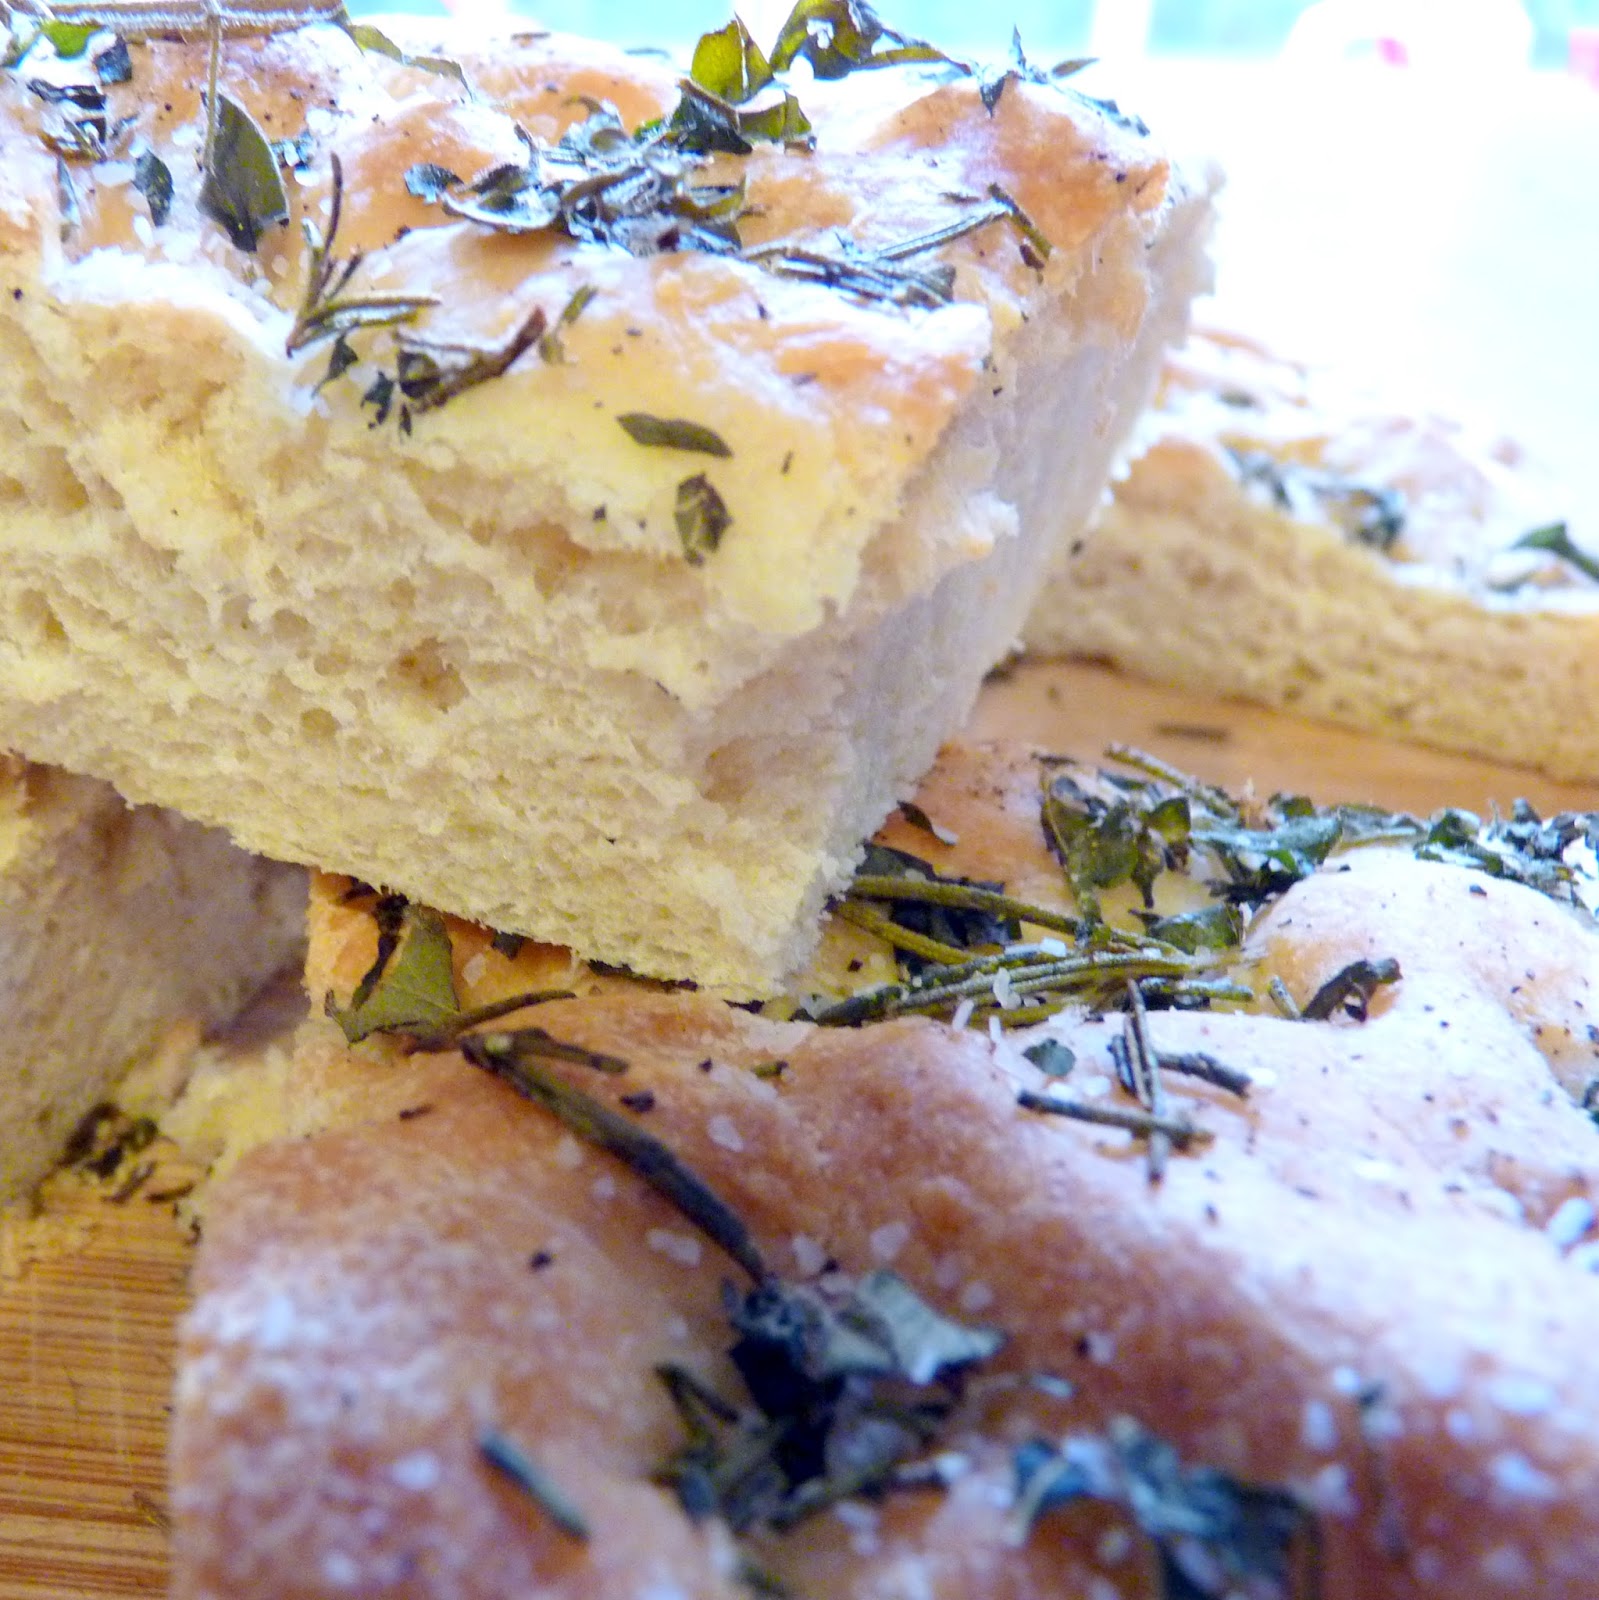
easy garlic herb Focaccia bread

easy garlic herb focaccia bread recipe


Ever since becoming a stay at home mom, I've had this burning desire to make a show stopping homemade loaf of bread. It's like some latent Suzy Homemaker gene that was always there has been kicked into overdrive. 

I've experimented with tons of recipes, but the perfect loaf was still alluding me. I guess that yoga-mat-plastic additive really is the difference between a dense homemade loaf and a super-soft store bought loaf.

Most of the recipes I've found are profoundly irritating because they tell you that you'll "just know when the dough is ready." Thanks, Julia Child. Kind of like gardening when the plants will just "tell you when it's time to split them / prune them / transplant them / water them."

Well, I don't speak plant and I don't speak dough.

Until now.


On our stay-at-home-mom budget, we don't have the leisure to eat out very often. I miss the warm, yummy focaccia and artisinal breads that they give you at Italian restaurants before your meal. I wanted something equally yummy to go with the Gorgonzola Pasta dish I shared with you last week.

I also needed a way to use the absurd amount of Oregano growing in my back yard.


oregano for days
perhaps I DO speak gardening

And, friends, here it is. This garlic herb Focaccia bread is a no guesswork recipe that even I couldn't screw up. I added lots of photos to help you along the way. It takes very little skill, but does require a bit of time. Save this for a weekend or a lazy rainy day.

Thumbs up. Let's do this.

THE GOODS:
  • 5 cups flour. I used 3 cups all purpose and 2 cups bread flour, because that's what I had around. You can use a combination like I did, or just go with all purpose.
  • 1-3/4 cups warm water (110°)
  • 1 package active dry yeast
  • 1 tablespoon sugar
  • 1 tablespoon Kosher salt 
  • 1 cup extra virgin olive oil, divided
  • Fresh herbs of your choosing (hearty ones like rosemary and oregano work great and stand up to the high temperatures in the oven) or dried Italian blend herbs
  • 3 cloves fresh garlic


HOW TO:


STEP ONE: Proof your yeast. I microwaved my water in my measuring cup for 1.5 minutes until the temperature reached 110°. I don't like the guesswork of "warm" water - what's warm to me might not be to you. 110° - 115° is just the right temperature to make yeast happy. Add your yeast and sugar (aka yeast food), stir, and then leave it alone for 15 minutes.

easy garlic herb focaccia bread recipe - proofing the yeast
before proofing
easy garlic herb focaccia bread recipe - proofing the yeast
after proofing. very "fragrant" and puffy


STEP TWO: While the yeast is working, combine your flour, salt, and 1/2 cup olive oil in your Sir Mixalot. After your yeast concoction looks totally disgusting like the photo above, mix that in on low speed. Once the dough comes together, set your timer for 5 minutes and increase the speed to 4. If your mixer starts bucking like a bronco, reduce the speed to 2 and just mix 1 minute longer. 

If the dough is crazy-sticky, add a sprinkling of flour. If it's dry and stringy, add a tablespoon of warm water at a time until it looks like the photo below.

easy garlic herb focaccia bread recipe
dough has just come together. set timer for 5 minutes and increase to speed 4.


easy garlic herb focaccia bread recipe
dough has been kneading for 5 minutes and is ready to go.

STEP THREE: Transfer your dough to your work surface (which you've sprinkled with a bit of flour). Just knead it for a moment to get it into a ball. Place in an oiled bowl - use either olive oil or olive oil cooking spray - and cover with plastic wrap. Let it rise for 1.5 to 2 hours, until it has doubled in size. I went to the grocery store, came back, and it was just right.

easy garlic herb focaccia bread recipe
before rising


easy garlic herb focaccia bread recipe
after rising 2 hours. see, it's huge.

STEP FOUR: Get out a jelly roll pan (or a cookie sheet with sides. Is that the same thing?) and drizzle the other 1/2 cup olive oil all over it. Yes, it looks ridiculous. Don't worry, your bread will soak all of that goodness up.

Plop your dough onto the sheet and start working it with your fingers like you're giving it a deep tissue massage. You want to poke holes with your fingers all through the dough as you stretch it to fill the cookie sheet. It should look like the cellulite on the back of your legs. Oh, you don't have cellulite? Well, I hate you. Eat 9 loves of this bread and then you will.


easy garlic herb focaccia bread recipe
hey, it's starting to look like focaccia! as dimply as a baby's bottom.
STEP FIVE: It needs to rise again. Stop groaning, it will be worth it. Drape that plastic wrap you used earlier loosely over the top and let it rise again for an hour. Go paint your nails or have a cup of iced coffee or something. Preheat your oven to 425°. I have a convection oven, so that's actually 400° convection, if you care.

easy garlic herb focaccia bread recipe
see? it's all big and fluffy-like.
STEP SIX: Chop up your fresh herbs and garlic cloves and sprinkle all over the top, like so. Also drizzle a bit more olive oil (because we haven't used enough already), Kosher salt, and black pepper over the top. If you like calamata olives or roma tomatoes, that would be delicious to add now as well. My family hates olives, so I couldn't add any. Life is tough.

easy garlic herb focaccia bread recipe
pretty, pretty dough.

STEP SEVEN: Seven? Dear Lawd let's bake the friggin thing already. I'm starving. Bake your bread for 22-27 minutes. The top should be golden brown and a toothpick inserted into the center should come out clean (albeit slightly covered in olive oil). Remove from the oven and let it rest 10 minutes in the pan, then transfer to a wire rack. 


easy garlic herb focaccia bread recipe
it's finally done!


It will be incredibly difficult not to dive in right this very second, but if you'll let it cool for 20 or 30 minutes, you will be rewarded with extra soft focaccia.

easy garlic herb focaccia bread recipe


This bread is awesome for paninis, dunking in soup, or devouring alongside any pasta dish known to mankind. You can also slice it up and freeze it to thaw and enjoy later.

easy garlic herb focaccia bread recipe

easy garlic herb focaccia bread recipe


easy garlic herb focaccia bread recipe

Hopefully you're feeling brave and give this recipe a shot. Let me know if you do!

Thanks to The Noble Pig for the Focaccia recipe inspiration and being the first Pinterest bread recipe ever that turned out like actual bread. They have lots of other great recipes up in there, so go take a peek.


YOU MIGHT ALSO ENJOY:


pasta with gorgonzola cream sauce
white wine and asparagus risotto
bacon jalapeño cheesy skillet cornbread
super dreamy restaurant worthy tiramisu

Tuesday, May 20, 2014

house tour: our first place

our first place: a 1951 dream

It occurred to me the other night as I was falling asleep (which is when I get all of my great ideas...so irritating) that I reference "our first place" pretty often on the blog, and most of you have never seen it. You've seen our current house tour here and here, but not the old place. Time to fix that.

These photos were taken the week we put our house on the market back in March of 2013. The house sold in just one week, due in very large part to the staging. We made way more on the sale of this house than we ever expected. What, what! I'm not joking when I say that staging your home adds enormous value to your house.  That's not what this post is about, but seriously, stage your house.

I should reiterate that this was NOT real life. 1/4 of our possessions were packed up in our garage out of site. There isn't a stray toy, half folded basket of laundry, or rogue coffee mug to be found in these photos. But it was so nice to see what the house should have looked like if I had the time and energy to keep it "show ready" all the time. By now you guys know that's not me.

For your viewing pleasure, may I present to you our first place. Built in 1951, 1500 SF, 2 bedroom, 2 bathrooms, and basically perfect. Except for the lack of 3rd bedroom and really crummy school district!

Monday, May 19, 2014

homemade dog shampoo


I'll be the first to admit that we've been a bit lazy in the dog washing department since Max came on the scene. Stella the Great Dane is blowing her winter coat, which is to say that my entire house is covered in a layer of black fur. 

The weather was gorgeous outside so we thought it was a good day for a bath. The only problem - we were completely out of dog shampoo. Naturally.

Saturday, May 17, 2014

breakfast with Squid


Max and I had a special breakfast date with my sweet friend Sidney this morning. Breakfast isn't typically blog worthy in my world (a bowl of cereal just isn't that glamorous), but at Sidney's beautiful loft, it is definitely worth sharing a few photos.


These two might be the two most gorgeous people on the planet.

If you're a morning person like me, do yourself a favor and have more morning dates with friends. Especially if your friends have amazing downtown lofts with rooftop pools and love your babies.


I came home so relaxed that the Hubs was fairly certain that Sid had slipped some Irish into my coffee. Breakfast with a sweet friend is as good for the soul as any spa day.


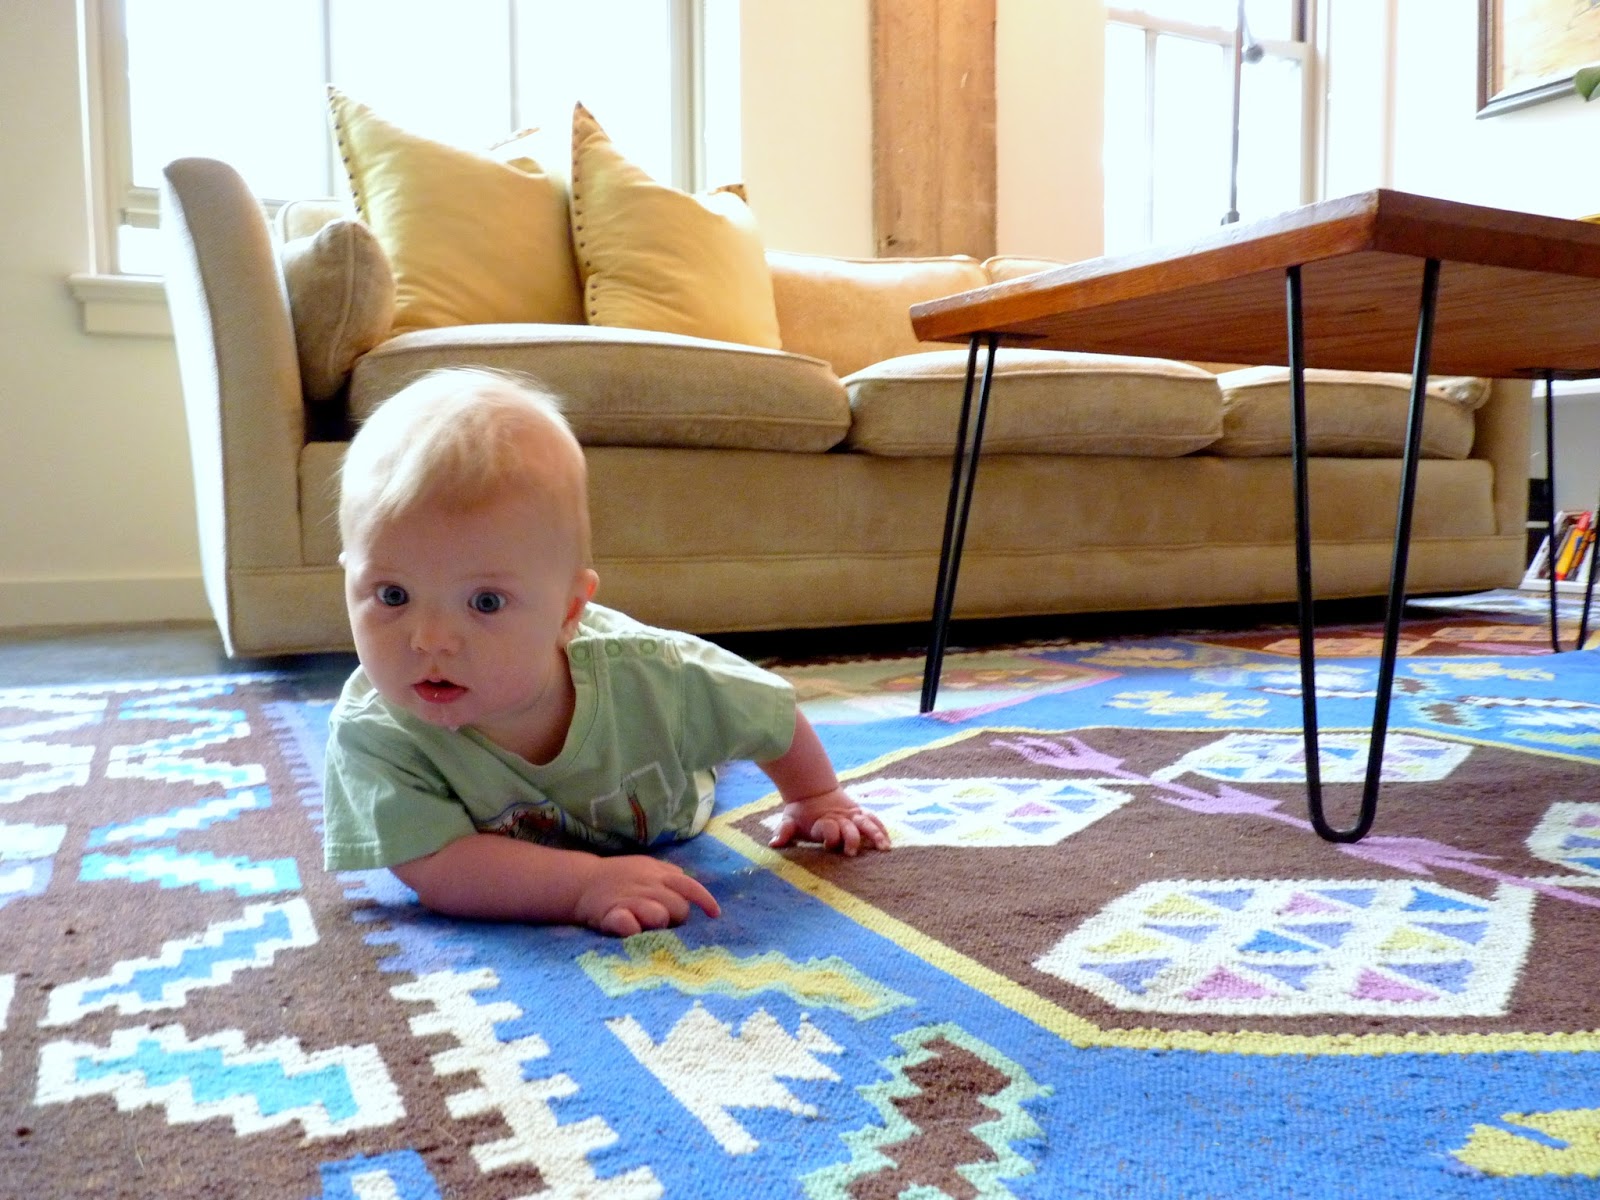
I'm not sure which is cuter: Max or this rug. Hey Sid, if this rug ever goes missing, you'll know where to find it - my house.


Max enjoyed himself immensely.


Sid even graciously agreed to let me photograph her apartment for an upcoming blog feature so you can see all of the beautiful (and friends, it is SO beautiful) details. And now that it's in writing, she'll have to follow through. ;)

Thanks Sid for refreshing my soul. Also for coffee and yogurt.

XOXO

tl


Friday, May 16, 2014

long live chesterfield

chesterfield inspired library room

I love our house with its bright, airy style, but there is a part of me that longs for a dark, dramatic room just for grown ups, filled wall to wall and floor to ceiling with books. 

I found this image of Nigella Lawson's library on Pinterest about a year ago, and it pretty much sums up everything a library should be. I'd probably be drinking a glass of Scotch, but otherwise she hit it right on the nose.

Wednesday, May 14, 2014

9 tips for shopping big box flooring centers like a pro

9 tips for shopping big box flooring centers like a pro


For most folks, having the opportunity to redo all of the flooring in your house is at the same time awesome and totally daunting. You start out really excited about going to look at all the pretties, thinking that your experience will look like this:


tile heaven
Aaaaah, tile heaven.


...until you get there and realize that it actually looks like this:


9 tips for shopping big box flooring centers like a pro
Shoot me now.

Monday, May 12, 2014

pasta with gorgonzola cream sauce

pasta with gorgonzola cream sauce

There once was a time where I did not know how to cook. At all. The Hubs and I sustained in our early days of marriage on Pasta Roni, frozen chicken patties on a George Foreman grill, and Hamburger Helper. Happy times, sad menu. God bless the man, he never complained. To this day, though, he can't eat Pasta Roni. And thankfully he doesn't have to.


This was the very first gourmet dish that I learned how to make. After months of enduring dinner-from-a-box, I think the Hubs was ready to marry me all over again after he tasted this. I found it in a random cook book that I no longer have, because the second dish I made from the book was so horrendous that I got rid of the book (and the food) immediately. 


I've improved upon it over the last ten (OMG...TEN!) years to what it is today. Which is pure lick-the-pan-until-it's-gone deliciousness.

Gorgonzola pasta is one of my go-to dishes when we're having people over and I want to make something that seems really fancy but that I don't have to fuss over too much. Luxurious creamy cheese sauce is usually pretty popular in my circles. Unless you hate blue cheese. If that's the case, don't touch this recipe with a ten foot pole.


If you don't know much about it, Gorgonzola is just a fancy type of blue cheese. They taste really similar, so you can always substitute good o'l blue if you can't find Gorgonzola.


Sunday, May 11, 2014

Blog button

Hey blogger friends! My gal pal Hipsterbrarian inspired me to create a little blog button for Simply Crafted. If you have a blog and want to link up on your side bar, just copy this code onto your site.

I love this blogging community. Bloggers helping bloggers.

I said "blogger" like 40 times.

Blogger.
Simply Crafted

Thursday, May 8, 2014

my new mom essentials list

I've been around the block on this baby business twice now. The first time I had a lot of things, but not necessarily the right things. The second time around I had a much better handle on what was a must, what I could do without, and what would be reaaaaly nice to have.

I've assembled my "best of" list for any moms-to-be out there. These items are mostly related to nursing mamas, since that was my experience. Not that it's the only way, it's just what I know.


new mom essentials


  1. Nursing tanks. This is what you will live in for the days (and weeks...and maybe months) after the baby arrives. Bring them to the hospital. Have lots of them. There's no such thing as too many. You'll sleep in them. You'll wear them under non-nursing friendly clothes. They will be your life.
  2. Nursing bras. Most of the ones you find look like old grandma bras, but they don't have to. Target has an awesome selection of nursing bras that might actually make you feel cute again. My advice - wait until AFTER your milk comes in to buy a bra. I went up a full cup size in two days from the time I had Max to the time my milk came in 36 hours later. Yowza.
  3. Nursing friendly shirts. I'm actually wearing this one right now. I have it in 2 colors. Loose enough to camouflage the left over baby bump that will still be hanging with ya for awhile (sad but true).
  4. Hair bands. These are gentle on your hair and will keep it out of your face, which you'll want. You think you'll be that gorgeous TV mom that has perfect hair during delivery, but unless you're having a C-section, it's just not going to be the case.
  5. Beauty treatment mask. This seems like a strange one, I know, but my sweet friend Lauren made me a hospital kit and it had several of these in there. Let me tell you, it felt sooo nice to take 5 minutes for myself after I had felt so completely grody, and my skin felt amazing afterwards.
  6. Make up remover towels. In the off-chance that you actually have some make up on in those early days, you will be too exhausted to wash it off the old fashioned way. Have these handy for those times.
  7. Mascara. It will make you look less zombie-like in all of those hospital room photos. Because that fluorescent light is oh-so-flattering.
  8. Compact make up. Because ain't nobody got time for liquid makeup and a brush.
  9. Disposable nursing pads. I tried to be 'green' and use the re-usable washable kind with baby #1. Do you know what happened? My boobs leaked through them, and my bra, and my shirt, and I had a house full of male co-workers at my home. Mortifying. Do yourself a favor and buy a box of the disposables. Only now, 6 months after Max is born, is my milk supply regulated enough to use the washable ones, and I'm only brave enough to wear them at the house.
  10. Cheap slippers. Let's get real. Gross stuff comes out of you after you have a baby. It might end up on the floor and on your feet. Get yourself some cute (cheap) slippers that you wouldn't be heartbroken about throwing away after you leave the hospital.
  11. Lip balm. Once your milk comes in, you will not be able to keep enough water in your system, and your lips will hurt real bad (Napoleon Dynamite reference? Anyone?). Make sure you have these in every room of the house.
  12. Cheap undies. Same as #10 above, except grosser. Buy some undies that you will have no problem tossing after the first few weeks. You're going to feel like you're thirteen having your first period all over again (yeah, ok, I was a late bloomer). An unfortunate fact of life. The hospital will give you some lovely mesh "underwear" that will make you look and feel disgusting. After 24 hours you will want to be in something that actually resembles panties. And while you're at it, buy yourself a whole bunch of ridiculously large maxi-pads. Trust me. 
  13. Ice Packs. Remember item #2 above when I grew an entire cup size in two days? Yeah, that didn't feel so good. Actually, it felt like my boobs were on fire. Put a cold compress on those puppies after you nurse for 30 minutes or so to ease the pain.
  14. Nipple cream. I'm really not making nursing sound that glamorous, am I? Well, it may not be glamorous, but it's worth it. And it's only uncomfortable for most women for 1-4 weeks or so. Grab some nipple cream and apply it after each nursing session. Lanolin is safe for both mom and baby. One tube should be more than enough.
  15. Nipple shield. I had some issues about 24 hours in with Henry getting him to latch. He just wouldn't eat, even though I knew he was starving. Ladies, this saved my life. He could latch and get milk and it didn't hurt me at all. I only needed 1, not a pair.
  16. Nipple shells. I promise, this is the last time I'm going to say "nipple." If your nips get sore in those early days, these babies provide an air gap between the girls and any other layers you might be wearing. I ended up not needing these with baby #2 but couldn't have survived without them with baby #1.
What would the other mommas out there add to the list?

You might also enjoy:

momma fuel: skinny-ish banana chocolate chip muffins
hey sleep, I miss you...call me?!
how we got our baby to sleep through the night
pint sized design: moonrise kingdom

Wednesday, May 7, 2014

pool renovation diary (or, the death of swamp thing)

When I shared part 1 and part 2 of our house tour awhile back, I didn't share any photos of the backyard. Then when did some updates to the front of the house, I still didn't show you the backyard. Yeah, here's why:


simply crafted | pool renovation

Yikes. Yeah, that's kind of embarrassing. 

I thought I would share with you guys the mini-renovation process. It's not a DIY since I have literally no business trying to replaster my own pool, and the most I had to do myself was write a (big fat) check. It's not really a design post because we didn't redesign the pool or add a waterfall or fountain or color changing lights or dolphin statues or anything else noteworthy, but it is a part of our house, so hopefully it will still be interesting to you.

Monday, May 5, 2014

easy elastic waist skirt tutorial


Here's another project that we can classify under "living vicariously through others who have little girls." 

Last week I shared with you this Muu Muu dress that I made for Henry's best girl, Adalyn. I decided before her party that one dress just wasn't enough, so I added a skirt to the gift bag for kicks.

If you were like "Hey, T-bone, that was a pretty cute dress, but it took you two hours, and ain't nobody got time for that," then this will be the project for you.


This skirt can be made in THIRTY MINUTES. Yep, that means that you could wake up in the morning and think, "my daughter has nothing to wear today" and then you could make her a skirt and you'd be the coolest mom ever. But that might create a pretty stressful morning, so maybe just make it after she goes to bed the night before, mmmkay?


It's a great way to use up small scraps of fabric that you hoard and have no idea what to do with. This adorable whale fabric was leftover from when I made this sweet little t-shirt dress for another sweet little lady 2 years ago.


t-shirt toddler dress


Also, you can totally make this for yourself. Same steps, just more fabric.


the goods:
  • Rectangle of fabric. Mine was 14" long by 30" wide. You'll want at least 8" wider than the waist measurement to allow for gathering. I have learned recently that 21" is a pretty good average for 3 year olds' waists 
  • 3/4" elastic. Mine was 21" long
  • thread

how to:

STEP ONE: Iron. I know, ironing sucks, but it's a fact of life. Iron the pre-washed fabric flat. If you want to be fancy, fold the top of your skirt down 1/4" and iron, and then 1" and iron. I am lazy, so I skipped forward to Step 2.


easy elastic waist skirt tutorial

STEP TWO: Create the waistband. If you ironed the top of your skirt, congratulations. If not, use your pinking shears across the top of your skirt to prevent fraying. 


easy elastic waist skirt tutorial

Then fold your fabric down 1" to 1-1/4" (depending on your confidence in your sewing skills). You're creating the tunnel for the elastic to go through. Pin and sew a straight stitch close to the pinked edge.


easy elastic waist skirt tutorial

STEP THREE: Feed the elastic through the pocket you just created. Use safety pins at each end. This will make it easier to feed the elastic through AND will prevent the elastic from slipping out the back end, which would drive you insane. Ever tried to re-drawstring a pair of shorts, only to lose the back end of the string? Maddening. This fixes that.


easy elastic waist skirt tutorial

See?! Life changing stuff, here.

easy elastic waist skirt tutorial

Stitch that elastic down and remove the pin. Stay close to the edge here, about 1/4".


easy elastic waist skirt tutorial

Smooth out your fabric so it gathers evenly. Your fabric should now look like this.


easy elastic waist skirt tutorial

STEP FOUR: Time to turn this rectangle into a skirt. Pin the wrong sides of your rectangle together and stitch. Use pinking shears, a zig-zag stitch, or a serger to prevent fabric from fraying at the edges.

easy elastic waist skirt tutorial


STEP FIVE: Hem this bad boy. You'll need the iron again (sorry). Use whatever dimension you like. I just did a basic 1/4" fold and iron, 1/2" fold and iron, done. No exposed edges. Bazinga.

easy elastic waist skirt tutorial

And stitch that down.

easy elastic waist skirt tutorial

Hey look, you have a skirt. That's it! Simple simple stuff. You can (and totally should) do this immediately.

easy elastic waist skirt tutorial

Especially if you have a little as cute as this in your life. Matching shoes and backpack not required, but strongly encouraged.


easy elastic waist skirt tutorial


You might also enjoy:


muu muu summer dress tutorial
simple boy shorts tutorial
felt doll tutorial and pattern
10 chores your toddler can totally do