My sweet friend and coworker Emily is due to have her first baby in September. We worked hand in hand on a project through my second pregnancy. Both the project and my baby were delivered at the same time! I wanted to make something special for her as a "thanks for putting up with me through nine months of hormones while wearing a hard hat" kind of thing.
Another former co-worker Kristi (graphic designer, seamstress, and modern quilter extraordinaire) made me a very similar blanket when Henry was born, and it has been my all time favorite for both babies. There are three really great things about this gift:
- It's large. At about 36" x 42", it's perfect for swaddling giant beast babies like mine. Since Emily's husband is approximately 7 feet tall (exaggeration) and weighed in at 11 lbs when he was born (NOT an exaggeration), it should fit the wee lad nicely. It's also a good size for a play mat on the floor.
- It's customizeable. I used soft cotton on both sides. Kristi used a flannel/cotton combo. It's tough to find flannel in Texas in June (go figure), so I went with all cotton.
- It's personal. Nothing like a handmade gift. I added a monogram to make it extra special.
- It's simple. Couple yards of fabric and thread. Yeah, OK, that makes four things. Sue me.
THE GOODS
- 1 yard fabric for the front
- 1 yard fabric for the back
- coordinating thread
- embroidery thread (optional)
STEP ONE: Trim your pre-washed fabric. Lay the right sides of your fabric together, pin in a few places, and cut. I would highly recommend a rotary cutter and mat for this to give you a shot at having this actually be straight. Spoiler alert, mine still wasn't. It also makes me happy that I can use my old T-square from my Interior Design studio days.
My big kid really loves helping with this. Just make sure their little fingers (or toes) aren't anywhere near that rotary blade (duh).
STEP TWO: If you are monogramming - which is totally optional - pick your corner and monogram the RIGHT SIDE of your fabric. I chose to monogram on the solid green fabric so it would show up nicely.
Try to do this as fast as possible before your semi-mobile baby eats the fabric. Scoot all around your living room floor to avoid his grasp. Dog will think you're playing a game and try to lay on the fabric. Then realize that if you just did this on your sewing table and not your cutting mat you could have avoided the whole mess.
STEP THREE: Sandwich everything back together and pin around all sides, leaving about a 4" opening to turn the blanket out. I used a 1/2" seam allowance, but it really doesn't matter since this can be any size you want.
If you're lucky like me, your 3 year old has absconded with your thread at this point. Spend 20 minutes looking for the thread to no avail, give up, and use something else. Find the thread 2 days later.
TIP - don't leave your opening at a corner. You want your corners to be nice and crisp.
And your done! Simple as that. How friggin cute is this blanket?
Try to do this as fast as possible before your semi-mobile baby eats the fabric. Scoot all around your living room floor to avoid his grasp. Dog will think you're playing a game and try to lay on the fabric. Then realize that if you just did this on your sewing table and not your cutting mat you could have avoided the whole mess.
STEP THREE: Sandwich everything back together and pin around all sides, leaving about a 4" opening to turn the blanket out. I used a 1/2" seam allowance, but it really doesn't matter since this can be any size you want.
If you're lucky like me, your 3 year old has absconded with your thread at this point. Spend 20 minutes looking for the thread to no avail, give up, and use something else. Find the thread 2 days later.
TIP - don't leave your opening at a corner. You want your corners to be nice and crisp.
STEP FOUR: Turn out your blanket and press. I know, ironing blows. BUT you really want nice crisp edges like this. Press the fabric under at your 4" opening as well to make closing it easier.
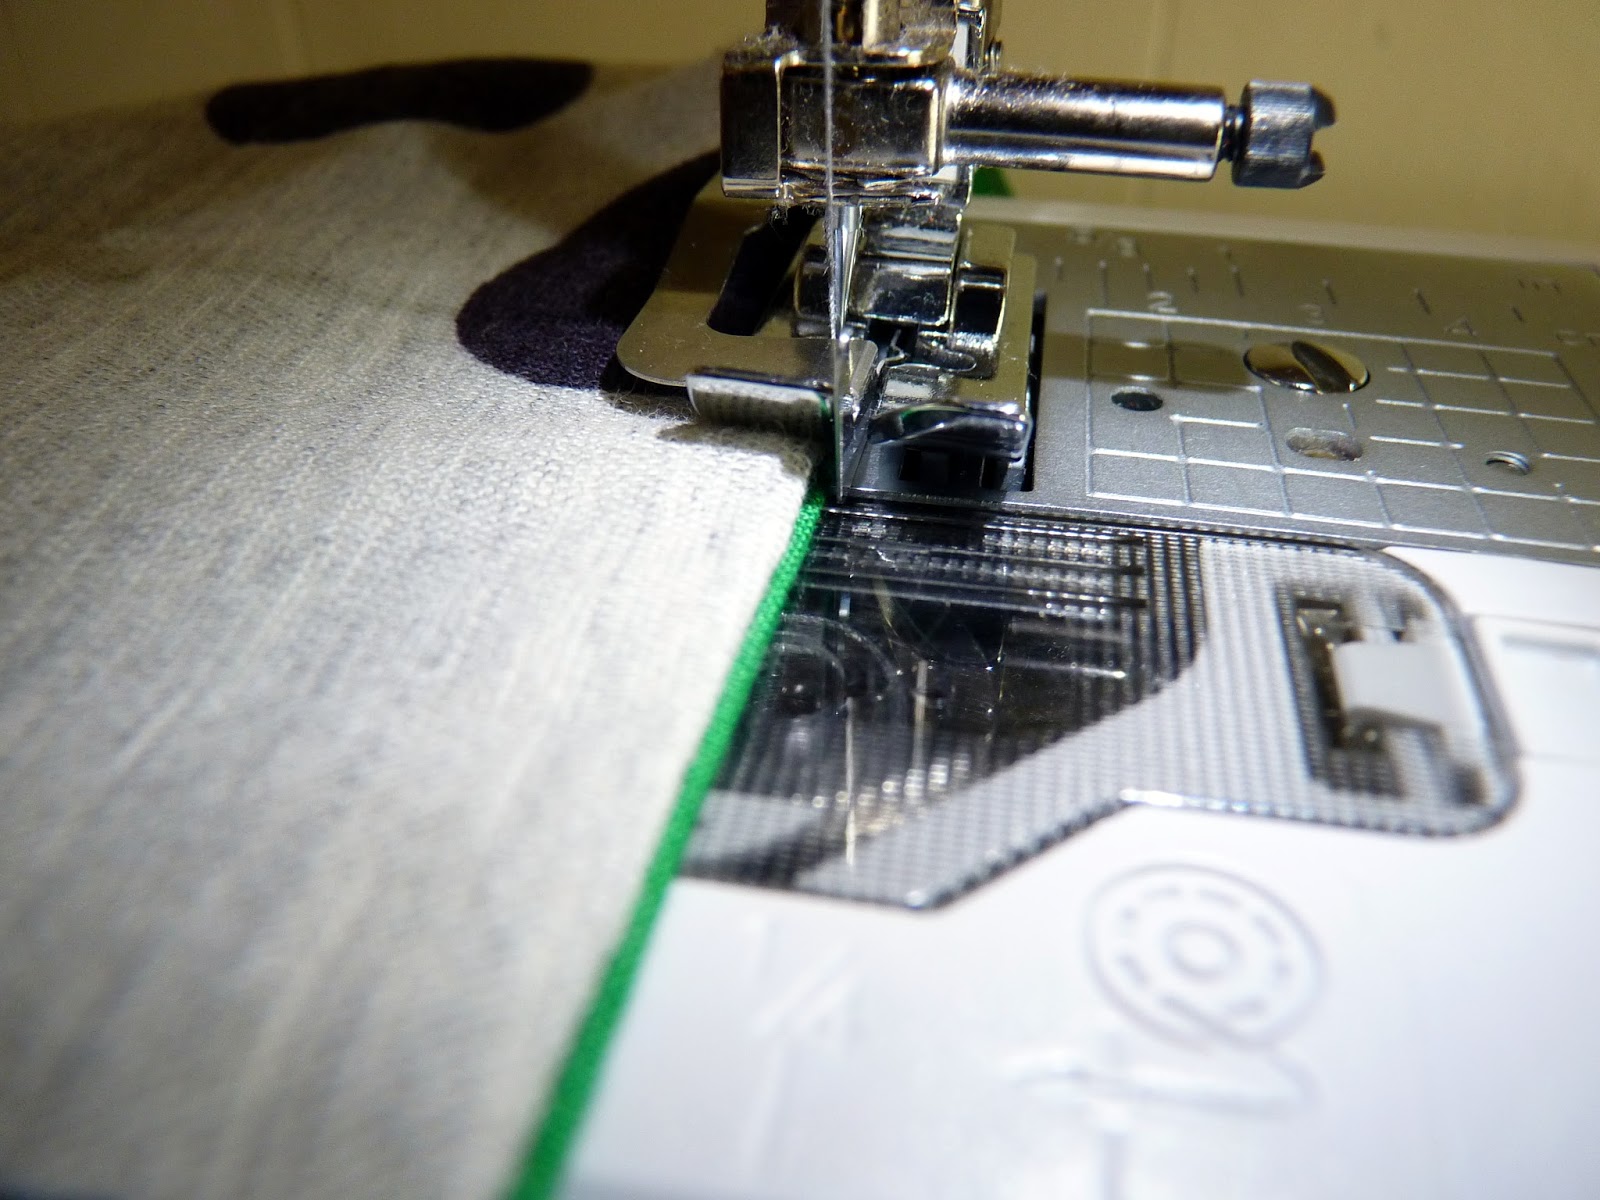
STEP FIVE: Sew a straight stitch all the way around the blanket, as close to the edge as you can manage. I used my overcasting foot to put the stitch RIGHT at the edge. It makes it look so pretty and professional.
It's a good thing that I monogrammed this bad boy, because I probably would have kept it for Max and gotten Emily a gift card. Just being honest.
Max sure seemed to enjoy it. Mom guilt is kicking in. Guess I should make this kid a blanket, since, you know, I never did. Whoops.
|
|
|
|


No comments:
Post a Comment